Crockpot beef burritos

I have another Mexican recipe.  I am a Cajun mama who LOVES Mexican food, so I will probably most more than my share of these recipes.  I found a recipe online for Colorado beef burritos and the picture alone made my mouth water.  I have never heard of Colorado chile beef burritos before, but after making them I will never be without them again.  My oh my.  What a great Mexican recipe to have in my crockpot arsenal.  They basically cook themselves.  If you are in the mood for Mexican comfort food, this is one for you to try.

Crockpot Colorado Chile Burritos (adapted from FoodPusher ‘s Chile Colorado Burrito recipe)

Ingredients:

1 1/2 pounds of stew meat or a beef roast beef cubed (I used a top sirloin roast and it was perfect)

1 large can of mild red enchilada sauce  (at least 19 oz) or two small cans

2 beef bouillon cubes

1/2 can refried beans (optional.  I chose not to put these in mine because I was serving frijoles on the side and they were just fine)

5-7 burrito size flour tortillas

1 cup of shredded cheese (or more depending on taste)

Directions

Put cubed beef, bouillon cubes, and enchilada sauce into a crock pot (I used Las Palmas and even the mild had a little heat to it.  The Old El Paso brand is little more mild, so it is a preference thing or what you can find.) and cook on low for 7-8 hours or until your meat is tender.  If you have a newer crockpot that allows you to set a timer, you may want to set it for 6 and then check it.  Mine was done after 6 hours.  The new crockpots cook a little more efficiently and faster I think.  You definitely want your beef overly tender versus not tender though.  When your beef is done, taste and add a little kosher salt if you think it needs it. Heat up the refried beans if you are using them.  Put your oven on lo broil. On a plate, lay out your first tortilla and place about 1/2 cup of the meat (using a slotted spoon) and a spoonful of your warmed beans if you are putting beans in your burritos.  Roll into a burrito.  Basically this means you fold it tightly enough around the meat/bean mixture by folding in all 4 sides.  There should be no open sides. Place each burrito in a 9×13 dish as you finish them.  Ladle some of the red sauce from your crockpot  over the burritos to cover them well.  Sprinkle the cheddar cheese over them.  Broil until the cheese is melted and bubbly, about 2-4 minutes.

Prepare to be amazed.  Muy delicioso mis amigos!!

Image

Advertisement

Perfect Iced Coffee

I love coffee.  Love, love, love it.  To know me is to know I love coffee.  The words ‘coffee lover’ will be written in my eulogy.  I am defined by my love of coffee.  See what i mean…I am little obsessed.  When my son was 3, we would go through the Starbucks drive thru and he would be able to say my order…”one tall bold cup with 2 splendas and half and half”.  yep, I have apparently brainwashed my kids.  Oops!  There is just something about that warm mug full of that precious brown liquid in your hands.  When I see someone with a cup of coffee in the carpool line or on TV, I admit I feel a little jealous.  I was watching Pioneer Woman on Food Network the other day and in this episode she makes iced coffee.  I was intrigued.  Not so much with the fact that she was making iced coffee, but more intrigued with HOW she was making it. She mentions in the episode that iced coffee tends to be watered down when you make it yourself and how her method changes that.  So I figured in the interest of my blog, in the interest of those who might like iced coffee and want a foolproof method…I would give it a go.  For all of you.  For research.  Just so we are clear.  Ha Ha!!  I really didn’t have high hopes, but I was amazed.  The stuff is awesome.  I am sitting here as I type with a lovely tumbler of iced cold coffee and I am not missing my warm mug much at all.  So if you love coffee, especially if you love iced coffee, you should give her recipe a whirl.

Perfect Iced Coffee (from the Pioneer Woman)

1 pound ground coffee (a good rich roast)

8 quarts of cold water

milk or half-and-half (nice enough splash to change the color to that beautiful iced coffee color)

sweetened condensed milk (if you are feeling super indulgent)

OR a few packets of your favorite sweetener, but I used good ole pure cane sugar because Pappaw always swore it dissolved better and as usual, he was right

Place the ground coffee into a large container

Pour in 8 quarts cold water

Give it a good stir to make sure you wet all the coffee grounds

Place the lid on the container and let it sit on the counter at room temperature for a half a day or a full 24 hours (I let mine sit for 24 hours and it was perfect)

Image


Excuse my little helper’s hand in the picture…I needed some backup.

Lay some cheesecloth in a fine mesh strainer.  Slowly pour the coffee mixture through the strainer and into a clean container.  

After you have poured most of the liquid out, gently press the grounds with a spoon to make sure you get all of that lovely coffee out and then discard the cheesecloth with the grounds inside.  I will forewarn you, this is messy.  We used the leftover grounds in our garden…just FYI.

Chill your pitcher of coffee in the fridge.

Image

Pour the coffee into a glass filled with ice.

Splash in your milk or half-and-half 

Add your sweetened condensed milk or sugar or sweetener and then give it a quick stir.

Prepare yourself for iced coffee nirvana.  To fall in love with iced coffee. To be a changed person.

ImageAhhh!!!  That picture just makes me happy.  


Chicken Tamale Pie/Mexican Pie

So before I started blogging, I still cooked all the time and shared pics on facebook.  Yes, I was one of those obnoxious food picture sharers.   I was thinking about a recipe I could share today that I would have a picture of and realized I could probably find tons of pics that I had taken and voila…sure enough.  I found quite a few.  I know it is not required, but I like to have a picture to share along with a recipe I write about on my blog.  And I like the picture to be taken by me.  So…here is one I have not made in quite a while which is kind of a sad thing because it was awesome and Big Daddy loved it!!  Well it isn’t that sad, but I really should make this again and soon.  So many good recipes, so little time I suppose.  What a problem to have right?

Chicken Tamale Pie (this was adapted from Cooking LIght by Pinch of Yum)

1/3 cup fat free milk

1/4 cup egg substitute

1 1/2 tablespoon taco seasoning, divided (I use reduced sodium)

1/4 tsp. ground red pepper

1 can (14 3/4 ounce) cream style corn

1 box corn muffin mix (such as Jiffy)

1 (4 oz.) can diced green chiles, drained

1 (10 oz.) can red enchilada sauce (I usually use Old El Paso brand)

2 cups shredded cooked chicken breast

3/4 cup Monterey Jack cheese

diced green onions to sprinkle on top

Image

Inspired yet?  Yeah, you should be.

Instructions

Preheat oven to 400 degrees

Coat an 9″ pie plate with cooking spray

Combine the first 7 ingredients (milk through green chiles), using just 1/2 Tablespoon of the taco seasoning, in a large bowl, stirring just until moist.  Pour mixture into prepared pie plate.

Bake for 20-30 minutes.  While this is baking, toss the shredded chicken and the remaining 1 Tablespoon taco seasoning.  When the corn mixture is done-when it is set and golden brown-pierce the cooked crust with a fork several times.  Pour enchilada sauce over the pierced crust.  Top with chicken; sprinkle with cheese.  Bake this at 400 for 15 more minutes or until cheese is melted.  Remove from oven and let stand for 5 minutes.

Sprinkle with chopped green onions.  Slice into 8 slices.

When you have finished making yummy noises and your eyes roll back out of your head,  please leave a comment telling me what you think.  It’s good ya’ll!!!!

The great and fantastic BRACIOLE recipe

So I am an avid fan of Everybody Loves Raymond and I have been for years.  I have seen every episode at least 10 times and own every season on DVD.  I still watch it at night when it is on.  There is an episode titled “Deborah makes something good” and that something good is Braciole.  Today’s featured recipe and man is it good!!!  Every time over the past few years when I saw this episode I would think “that looks so good” and “I so want to make braciole one day”.  Well, my friends, one day came last Sunday.  In the episode, Deborah says she adds currants to her braciole, so I ordered some from Amazon and I bought the rest of my ingredients and I was ready to go.  I did not find this to be an extremely difficult dish to prepare but it would definitely not be filed under quick and easy recipes.  It requires a little extra effort and time in the kitchen. I promise It is absolutely, positively, 100 percent worth the extra effort.  Don’t be intimidated by the number of ingredients required.  Most of the ingredients needed for the filling are also needed for the sauce so there is quite a bit of repetition.

Braciole (adapted from Sunshine and Bones blog)

Ingredients:

For the filling/stuffing you will need:

Extra-virgin olive oil

1/2 cup finely diced pancetta (this is usually found in your grocer’s specialty cheese case near the deli)

1 large onion, finely diced

kosher salt

crushed red pepper flakes, just a pinch

2 cups of day old Italian bread, crusts removed and cut into chunks

1 cup of whole milk

2 cloves of garlic, smashed and then finely chopped

1 8 oz. container white mushrooms, diced

1 1/2-2 cups spinach, stems removed and cut into chiffonade (I had to google it…it isn’t hard I promise)

photo photo (2)

1/2 cup grated provolone

1/2 cup Parmigiano-Reggiano (plus extra to sprinkle over the finished product)

1/2 cup currants (I ordered them off of Amazon.  Yes you heard me correctly)

2 pounds top round, cut into 1/2 inch thick slices (I found some in the Wal-Mart meat section and it was called Milanesa style)

For the sauce:

Extra virgin olive oil

1 large onion, finely diced

Crushed red peper flakes, just a pinch

Kosher salt

2 cloves garlic, smashed and finely chopped (see what I mean about the repetition?)

4 T. tomato paste

1 cup of red wine (I used Barefoot sweet red)

1 32 ounce can San Marzano tomatoes (Ok the recipe I followed called for the tomatoes to be passed through a food mill…after I finished laughing because I do not own a food mill and I am not buying one, I brought out my Immersion blender and stuck that baby in the can of tomatoes and that worked just fine.  You just want the tomatoes to be smooth.  And again, I found these tomatoes at Wal-Mart)

2 cups of water

Your choice of pasta, cooked al dente

Directions: 

For the beef rolls: add about 2 T. of olive oil in a skillet or saute pan and then add the pancetta.  Bring the pan to medium heat. Cook the pancetta until it gets brown and crispy, about 5 minutes or so.  Pancetta is basically Italian bacon and sweet Maria it is so good. When this stuff is getting close to where you need it, your kitchen will smell like heaven.  Add the diced onions and crushed pepper flakes and toss to let them mix well with the pancetta.  Season with Kosher salt, to taste.  Cook the onions until they are tender and opaque, about 8 minutes.

While the onions are getting tender and opaque, combine your bread cubes and whole milk in a large mixing bowl. Toss to combine and let this mixture sit until the bread has absorbed and is really soft.  Using your hands, really get in there and really mush the bread and milk together.  Set this aside.

Add the garlic to your saute pan and saute it for about 2 minutes.  Next, add the mushrooms and stir until mushrooms are fairly soft.  Add salt to taste if necessary.  Remove the mixture from the heat and then stir in the spinach.

Now, stir the onion/garlic/pancetta/mushroom mixture to your mushy bread.  Stir to combine.  Stir in the cheeses.  Taste to see if you need to add any more Kosher salt and add accordingly, a little at a time.

The recipe I followed called for you to lay the beef slices out between two pieces of plastic wrap and gently pound with a mallet to flatten and even the slices out.  I skipped this step because it was not necessary as all of my meat slices were thin and even in thickness.  Feel free to do this step if you just think it needs to be done or if you have some pent up aggression that you need to release in a positive way.  Tenderizing meat is a great stress reliever, so by all means…get after it.

Put about 1/4 cup of the filling on one end of each beef slice and roll up.  Secure with toothpicks.  Repeat this process with each slice of beef.  photo (1)

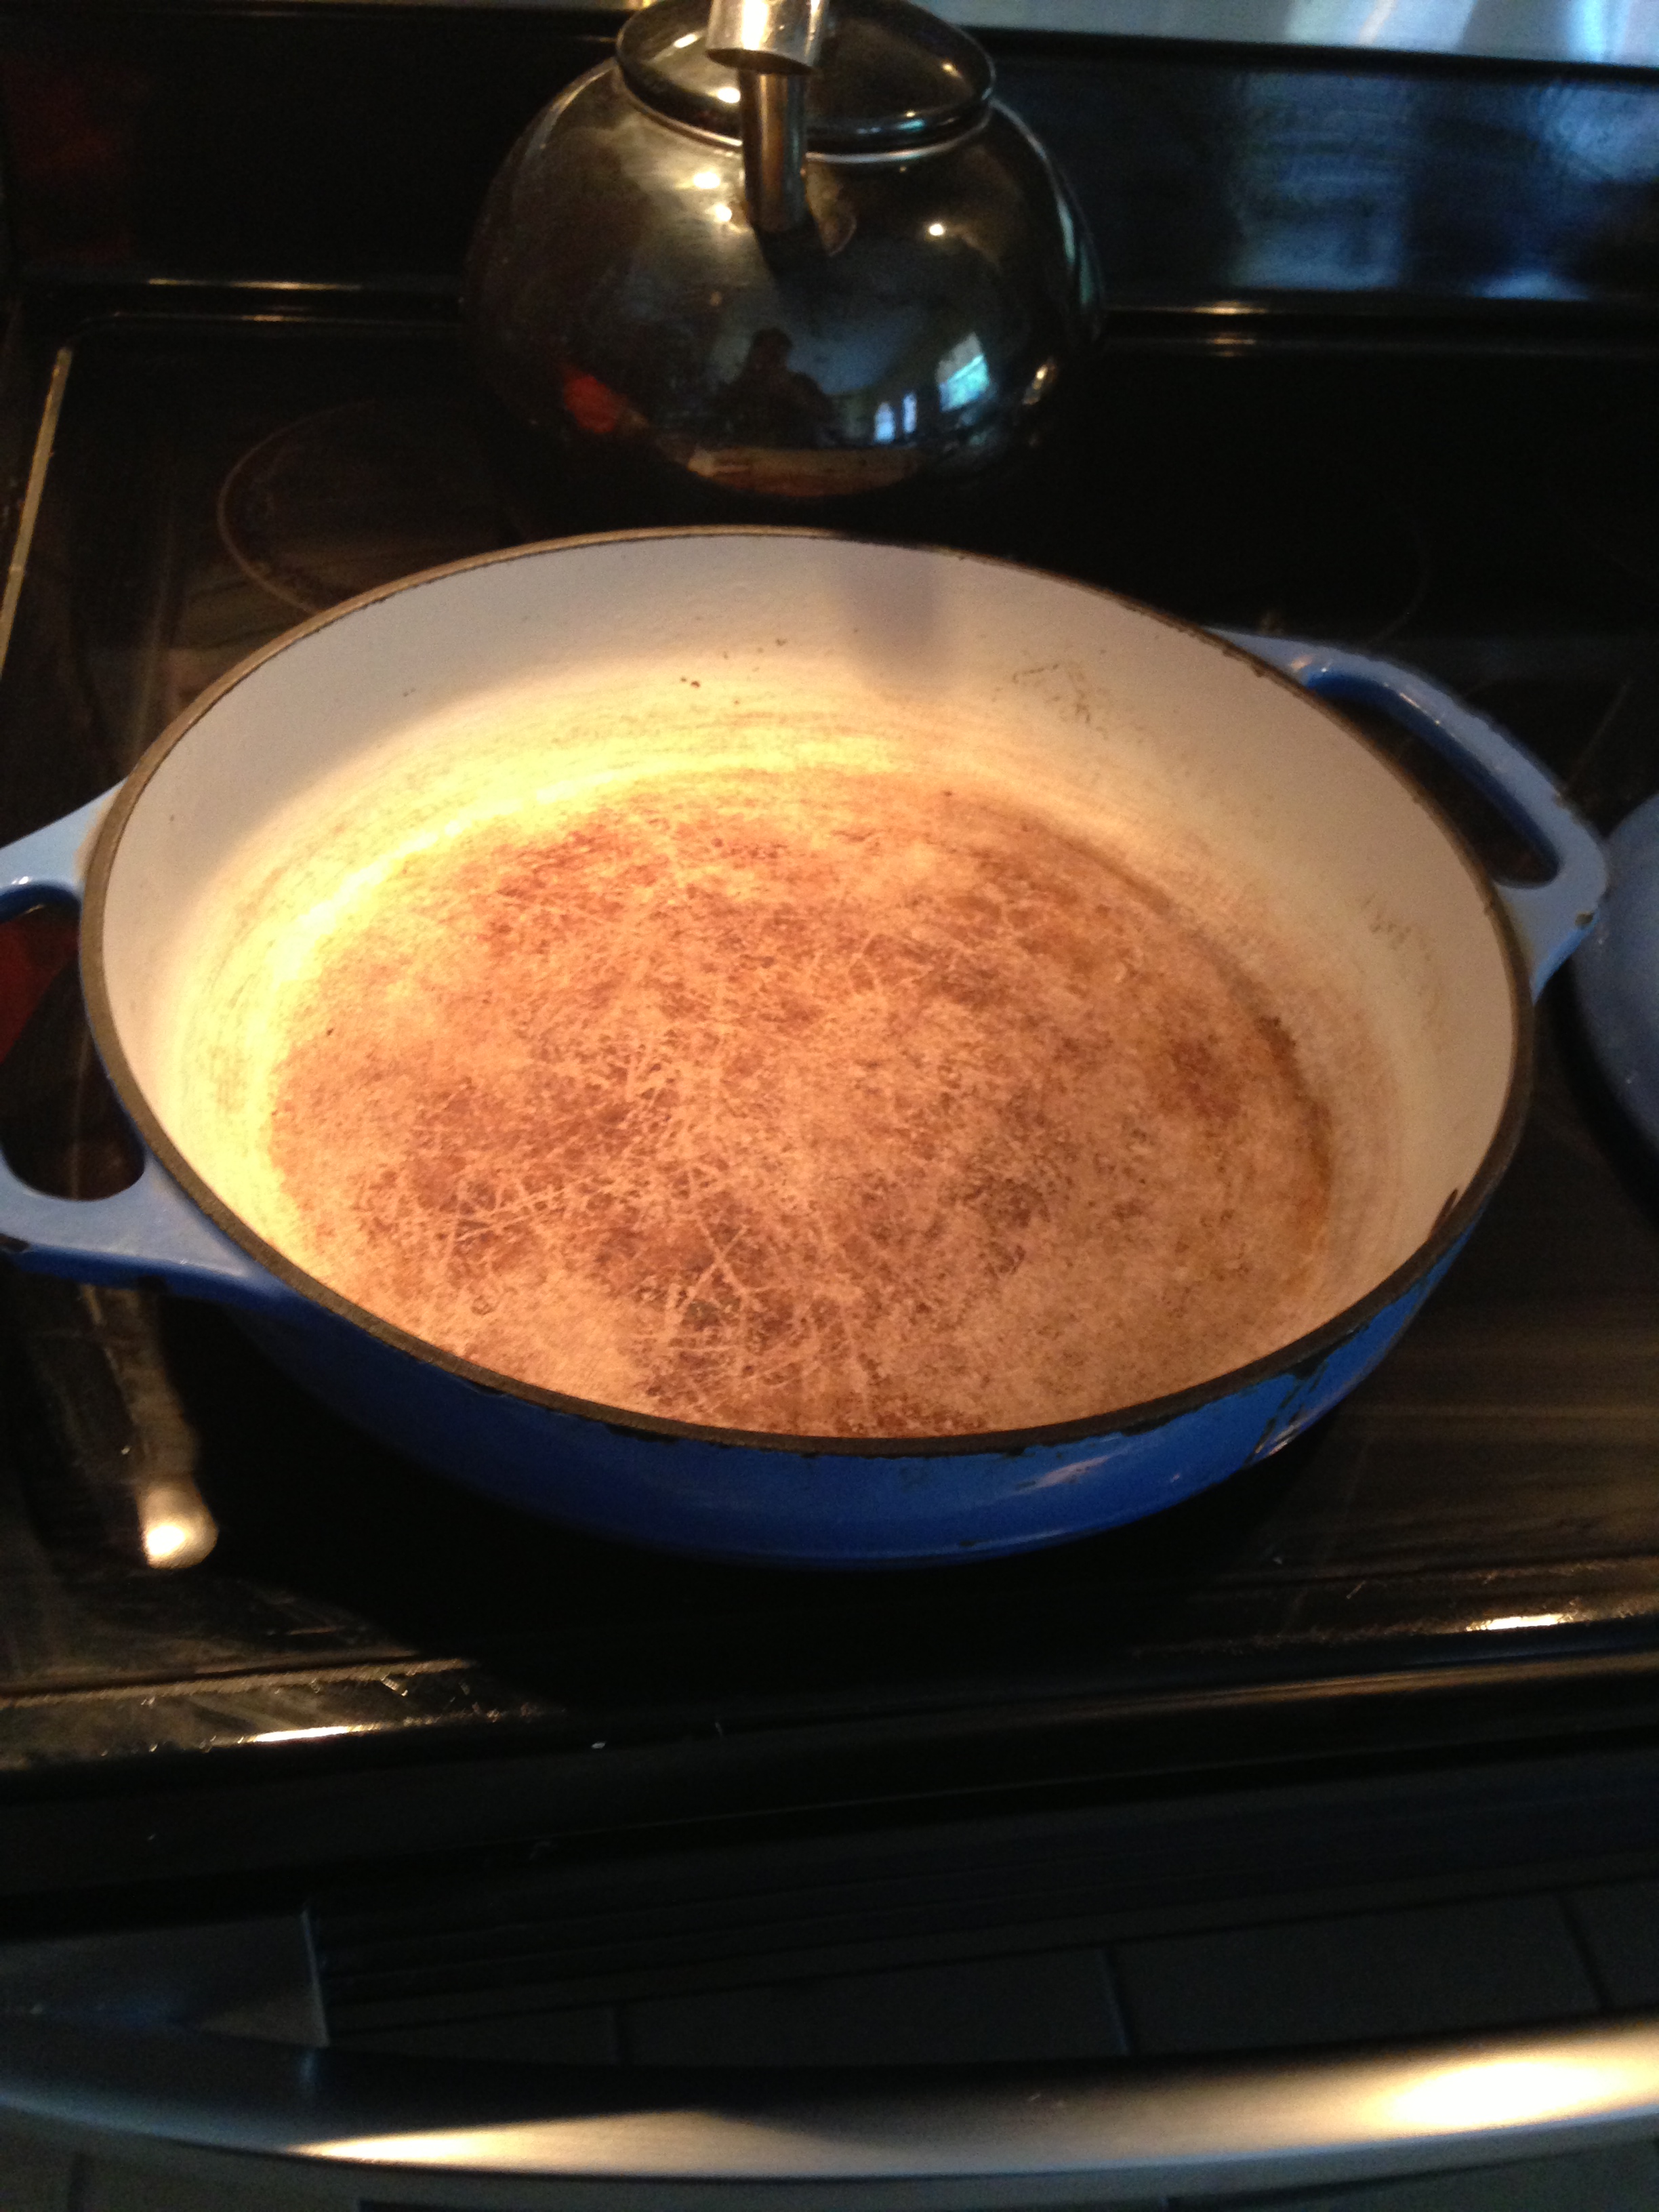
Ok…now that your filling is rolled up in the beef slices, it is time to work on the sauce.  Pour some olive oil in a large skillet or shallow pot.  I used my most favorite Lodge color shallow dutch oven.  Here is a picture of my little darling.  I took this picture to show ya’ll a picture to go by size wise…I don’t just have pictures of my pots because they are my pride and joy.  Ha ha!!! Now heat the olive oil in your dutch oven

photo (3)

over medium heat.  Season the beef rolls lightly with kosher salt and brown the beef rolls on all sides.  When they are nicely browned on all sides, transfer them to a plate and set aside.

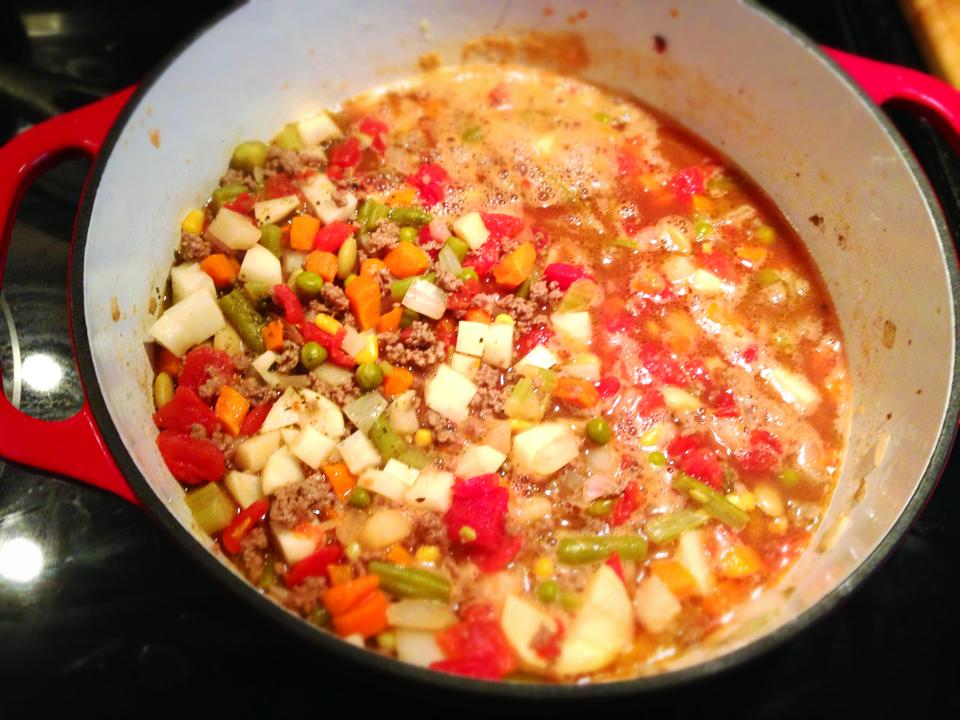
Add a little more olive oil to the pot,  then add  your onions and the crushed red pepper and saute over medium heat, stirring occasionally until the onions are tender and opaque.  Add the garlic and saute for about 2 minutes.  Now stir in the tomato paste and red wine and cook for 6 to 8 minutes.  Add the tomatoes and water and season with kosher salt, to taste.

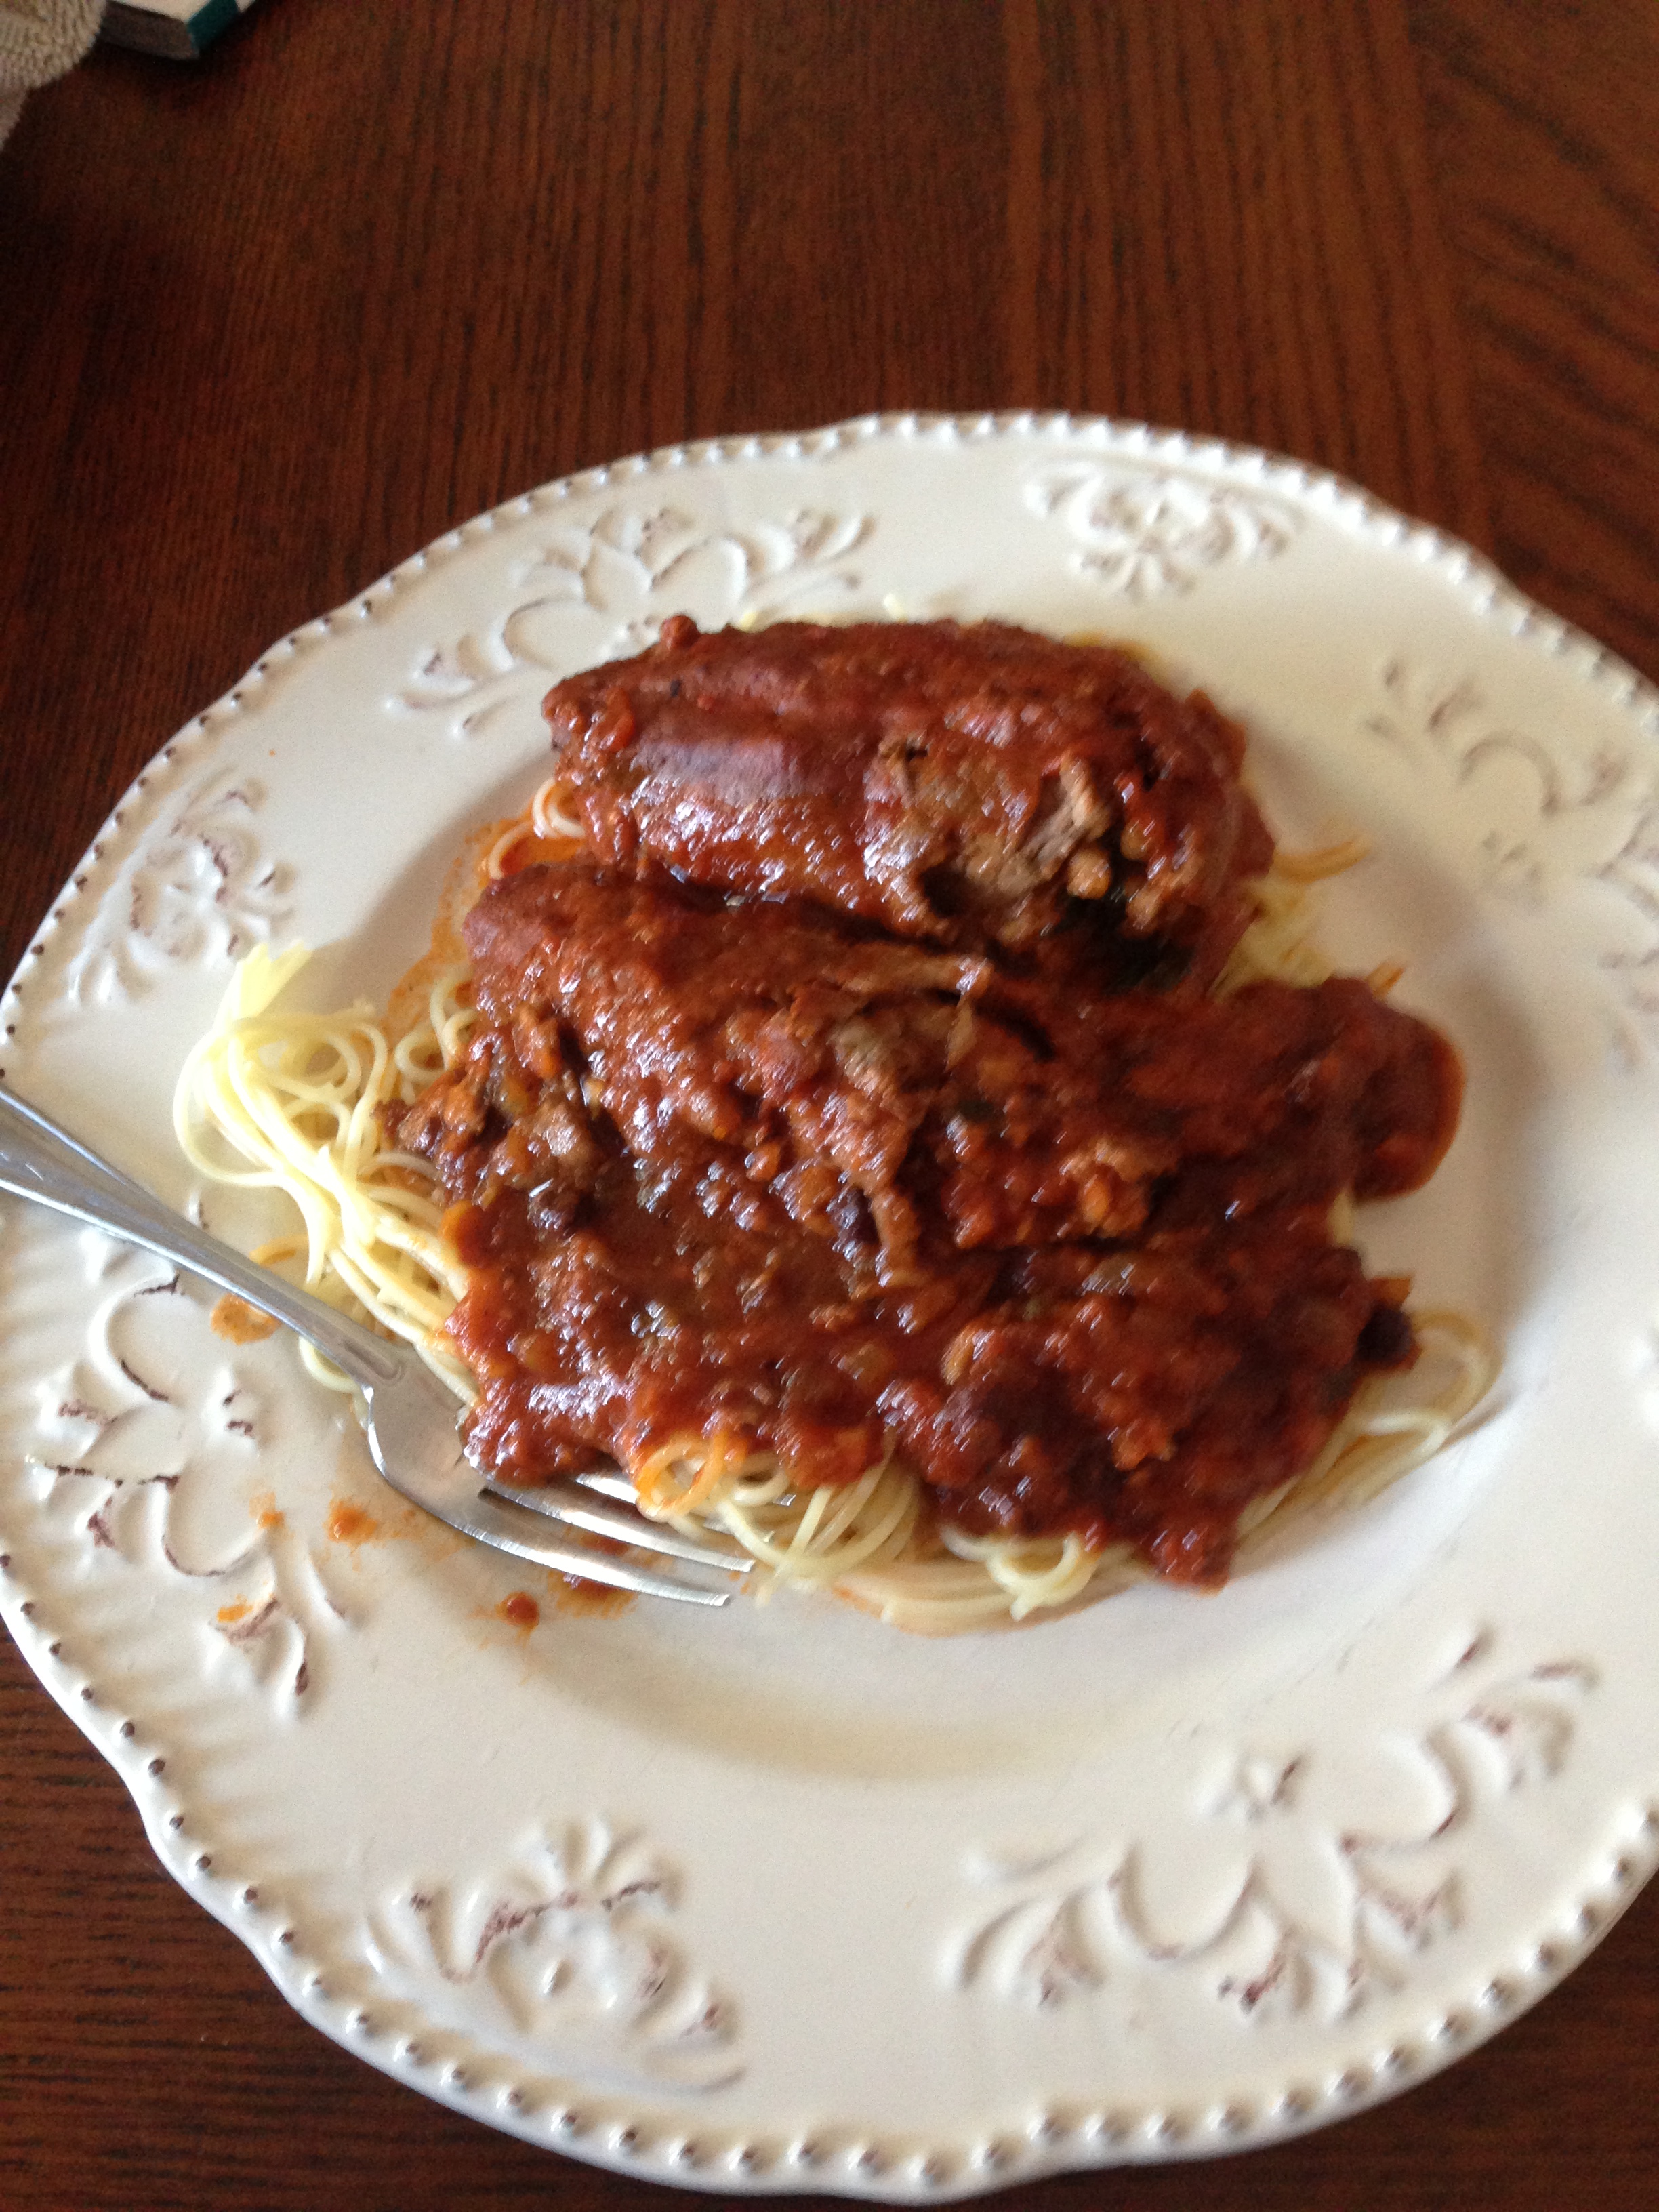
Return the beef rolls to the pan and let those babies get cozy in the sauce.  Bring the sauce just to a boil and then reduce your heat.  Simer until the beef is very tender, about 2 hours.  Remove the toothpicks before serving.  Serve over your choice of cooked pasta (for the record I used angel hair pasta).  Sprinkle with some grated Parmigiano-Reggiano if you want.

photo (4)

This is what my finished product looked like.  Like I said…I had been wanting to cook braciole for several years.  It was definitely a marker on my culinary path to wherever the heck it is I am going.  Being a cajun mama, I am not sure if that path will ever end.  Making this dish was definitely a cooking adventure worth taking.   Will I make this weekly or even monthly?  Probably not.  Not because it is a little more time consuming, but because braciole is one of those dishes that when you make it, you want your family, husband, or significant other to look forward to.  One of those dishes that Sundays are built around.  In fact last week as I was in the throws of cooking, Big Daddy walked in the kitchen and said “dang, it smells like Sunday in here!!” and that is the whole point.  I hope you and your family enjoy it too.

Cajun Mama Quesadillas

I woke up yesterday with a hankering for quesadillas.  I rarely order them when I go to Mexican restaurants but I had them a few weeks ago at Superior with some friends and I enjoyed them more than I thought.  I will be honest and say the best quesadillas I have ever had were made by my best friend Lolly when we were in grad school.  She made it look so easy and they were absolutely delicious but I yesterday I was stumped about how to begin to make quesadillas…crazy I know.  Of course I looked on pinterest and I found some recipes that looked good, but many were for bbq chicken quesadillas and other variations.  I was looking for simple, plain Jane quesadillas, increasing the chances that my Cajun bebes might eat them.  So that ruled out onions, tomatoes, green chiles or peppers.  Also, lately I am trying to challenge myself to cook with the ingredients I have some days instead of running out to the store every day.  Well I am happy to say mission accomplished.  These quesadillas were easy to throw together, the kids loved them and were delicious.

Cajun Mama Quesadillas

4 oz. cream cheese, softened

1 cup shredded cheese (i used a combination of queso blanco and cheddar, but you can use colby jack, monterey jack, cheddar jack)

1 lb. chicken tenderloins, cooked and then shredded (i seasoned mine with some ground cumin,  a little sprinkling of kosher salt, and garlic powder.  Oh and a little of Jane’s mixed up crazy salt…my good friend Barbara turned me on to that stuff and I love it.  Bake them at 350 for about 20-25 minutes)

About 14 fajita size tortillas (or small tortillas I believe they are sometimes called)

butter 

Allow cream cheese to soften in a medium size bowl.  Shred your cheese and add that to softened cream cheese.  Stir in shredded cooked chicken.  Over medium heat, warm up a medium sized skillet.  Butter one side of each tortilla.  Lay one tortilla in warmed skillet, buttered side down.  spread some of your chicken filling (about 1/4 cup) over that tortilla and then top with another tortilla, this time buttered side up.  Cook over medium heat (adjust heat as necessary as every stove cooks differently) until one side of quesadilla is lightly browned (about 2-3 minutes) and then use a spatula to flip the quesadilla.  Do the same thing with each quesadilla until they are all lightly browned on each side.  Your filling will warm and spread out some so don’t worry about covering the bottom tortilla with filling.  use a pizza cutter to cut into 4 parts.  Serve with pico, guacamole, and sour cream.  YUMMY!!!!

Image

Beef Tips and Rice

I adapted this recipe from South Your Mouth blog.  She calls this dish Stewed Beef and Rice, but around our house we call this beef tips and rice.  This is yet again, a dish I had never had before I started dating Big Daddy.  Now, with both of my parents being from Avoyelles Parish,  we had rice and gravy several times a week.  And beef, pork, grillades, smothered chicken would be the main course with the rice and gravy coming right along with it.  Beef tips aka stewed beef are not the same thing.  The gravy is thicker and I find the flavor to be a little more concentrated.  It would definitely be filed under comfort food and if you have never had beef tips and rice before, it really should be on your list for this week or next.  It’s that good.  

ImageOh yeah…they are as good as they look.  For a long time I kind of made do with some packaged gravy mix and some stew meat.  Then Mandy at South Your Mouth made my world a better place by giving me an official recipe that does not involve a packaged gravy mix and I did a happy dance.  Definitely work a little extra effort, and truthfully, this is a pretty simple recipe.  I hope you will give it a try!! 

Beef Tips and Rice

1 1/2 pounds beef stew meat 

3 Tablespoons vegetable oil

Salt and pepper, to taste

14 ounce can beef broth

1 envelope beefy mushroom soup mix (the recipe called for onion soup mix but I rather beefy mushroom) 

1 cup of water, divided

2 tablespoons, cornstarch

Heat oil in a stockpot over medium heat.  Season your stew meat with salt and pepper.  Throw the seasoned stew meat into the skillet and give it a good stir once or twice.  Your goal here is to get the cubes of beef nice and brown on all sides.  This takes about 4 minutes.  Remove the meat with a slotted spoon and put it in a bowl, set aside.  

Meanwhile, back at the stock pot, whisk together the beef broth, soup mix, and 1/2 cup of the water. Stir in the stew meat and cook over low heat for about 1 1/2 hours.  Do not let the pot reach a full boil or your meat will get tough.

After the meat has stewed in the liquid for about an 1 1/2 hours, remove it with a slotted spoon and set aside.  Raise the heat under your stockpot and bring the broth mixture to a boil.  Add cornstarch to a small bowl an whisk in remaining 1/2 cup of water until smooth.  Pour cornstarch water into broth, bring it back to a boil and cook, stirring constantly for about 1 minute.  Reduce your heat to low.  When the liquid has stopped boiling and has thickened, put stew meat back in the pot and give it a stir.  Let the meat “stew” (I guess this is where this dish got its name from…whole lot of stewing going on) in that flavorful liquid for about 5 minutes.  Serve over white rice.  (And if you are country, or married to a country boy like me and therefore country by marriage ha ha serve alongside homemade cornbread, purple hull peas and boiled okra (when in season) and of course sweet tea.  It really is so very good.  


Pioneer Woman’s Simple Sesame Noodles

So a few weeks ago, it was a cloudy Monday before the kids started school and I was at a loss about what to cook.  I knew I didn’t want to go to the store with all 4 kids in tow and I am trying to get out of the habit of running to the grocery store every day because, well…it is time consuming and expensive.  Part of becoming a more seasoned cook is learning to cook something yummy with what I have on hand.  I needed inspiration and when I need inspiration, I turn to Pinterest or one of my cookbooks, and usually it is one of the PW’s cookbooks.  I also knew I was in the mood for something filling, tasty and utterly beautiful in its simplicity.  Simple sesame noodles fit that bill.  Image

See that bowl of deliciousness? Yeah…I am going to tell you how to make your own.  They are so easy.  

Simple Sesame Noodles 

12 ounces, thin noodles, cooked and drained (you can use rice noodles, linguine, angel hair, vermicelli…I used linguine)

1/4 cup soy sauce (I used reduced sodium)

2 Tablespoons sugar

2 Tablespoons Rice Vinegar

3 Tablespoons pure sesame oi

1/2 teaspoon hot chili oil 

4 Tablespoons canola oil 

4 whole green onions, sliced thin

Whisk everything, except for noodles and green onions, together in a bowl.  Adjust the chili oil and sugar according to taste.  

Pour sauce over warm noodles and toss to coat.

Sprinkle those diced green onions all over those deliciously coated noodles and toss. Serve them in a bowl and prepare yourself for bliss.  

Super easy Peach Cobbler

So as i have said before I married a country boy.  I am not originally a country girl, though I guess at this point I definitely have some country mixed in there with the cajun mama.  Ha ha!! Peach cobbler was never a dessert my mama or my grandmothers cooked often, if ever.  I don’t know why, it was just that way.  So I marry this bonafide country boy and he loves peach cobbler.  What’s a transplanted Cajun mama supposed to do?  Well, dang it, you google easy peach cobbler and take it from there.  A friend had taken me out to Ed Lester’s farm and we split a basket of fresh, ripe, juicy peaches.  They were peach perfection.  Big Daddy peeled those babies for me and sliced them up (that man was ready for that cobbler I tell you) and I set out with my recipe that I googled and hoped for the best.  Well…I got the best.  Sure, I stumbled head first into it by accident, but I found a good one!  Make sure you have some Bluebell Homemade Vanilla Ice cream to serve on top (or some brand…is there another brand? kidding).  Big Daddy was in heaven and I was a proud Cajun mama.  I am working towards earning my country girl cooking badge I think.  

Super Easy Peach Cobbler 

1/2 cup (1 stick ) unsalted butter

1 cup all purpose flour 

2 cups sugar, divided 

1 T. baking powder

a pinch of salt

1 cup milk (I use whole for my baking unless I state otherwise…buttermilk is always great to if you have it on hand)

4 cups fresh peach slices

1 T. lemon juice

ground cinnamon or nutmeg (I used both but it is optional)

Melt butter in a 13 X 9 inch baking dish

Combine flour, 1 cup of the sugar, baking powder, and salt.  Add milk, stirring just until dry ingredients are moistened.  Pour batter over the melted butter, but do not stir.

In a saucepan, bring remaining 1 cup of sugar, the peach slices, and lemon juice to a boil over high heat, stirring constantly.  Pour this mixture over batter and again do not stir.  Sprinkle with cinnamon and or nutmeg, if desired.

Bake at 375 degrees for 40 to 45 minutes or until golden brown. Serve warm with a scoop of ice cream.  YUM!!!Image


Hamburger vegetable soup (aka school soup)

So…the other day I was scrolling through my Facebook feed and I saw something caught my eye.  Mandi from one of my favorite cooking blogs had posted a picture of Hamburger Vegetable Soup aka School Soup and my mouth watered instantly.  So of course i pinned it and planned on cooking it the very next night.  It was not so much as a conscious choice as it was a compulsion.  An innate need to have THAT very soup cooking in my soup pot.  On my stove.  It had to be done.  Now, with strong feelings like that about a soup one would think that this must have been a favorite soup as a childhood.  Not so much.  l went to a Catholic school until 8th grade and we never had school soup.  Mandi says this was a popular soup among poor schools in the rural communities.  So maybe that’s why.  None the less, I had greatly missed out on such deliciousness until my early 20’s.  When I was in college, I worked at a country day care near Shreveport.  And the owner, Mrs. Liz, would make this soup on a weekly basis.  Those kids from 1-12 LOVED that soup.  And I about died and went to heaven when I tried it.  It certainly became one of my favorites.  At the time, I enjoyed cooking, but not like I do now and I never asked her for the recipe.  She was a precious spit fire of a woman and I wish I had.  Then I saw Mandi’s post and all was right with the world again.  Finally, I could reunite with my soup and introduce it to my husband and kiddos.  So I did.  And we lived happily ever after.  A friend of mine tried it a few days ago and she kept sending me texts about this soup.  Pretty sure she has fallen hard.  Trust me, you will not be disappointed and once the fall really gets here (in November…it will be a valuable go to recipe for us all).

ImageHamburger Vegetable Soup aka School Soup  ( adapted from South Your Mouth blog)

1 lb. lean ground beef (90/10 or better)

1 small onion, diced

good ole salt and pepper to taste

2 cans mixed vegetables (I used Veg-All), undrained

1 can petite diced tomatoes, undrained

1 can water

1 large potato, peeled and cubed
5 beef boullion cubes

1/2 tsp. Italian seasoning

1/4 tsp. dried thyme

Brown ground beef with onion, salt and pepper in a Dutch oven or soup pot until the beef is cooked through.  Do not drain.  I know this seems wrong, goes against everything you have been taught, but for this recipe, it is necessary.  You need the fat and flavor and since it is lean ground beef, it’s cool.  

Add remaining ingredients and simmer over medium low heat for one hour.  Remove from heat and allow soup to rest  for 30 minutes before serving.