Category Archives: Weeknight Meals

Crockpot chicken and gravy and welcoming Fall

I know we all love a good crockpot recipe. We also love a good crisp Fall day. First off I want to say “Happy Fall y’all!!!!” There is a slight chill in the air and it is so welcome over here. Now, I know the other side of all this is that for some of y’all this means a little fall and then here comes the power outages, freezing cold and snow, snow and more snow. But for today, we will enjoy this lovely Fall weather and a deliciously easy crockpot recipe. I am waiting in the Starbucks line for my triple shot pumpkin spice latte. It seems appropriate. This recipe was a big hit in our household. I found it on http://www.thecountrycook.net. I served it with a side of steamed broccoli and served the gravy over rice along with some Sister Schubert rolls. My little lamb chop aka Pappy aka Lucas (yes they have a million nicknames) loves those rolls. I really hope you and your family enjoy it as much as we did. Madame Toot happily exclaimed in her sweet little voice “yum! This tastes like Thanksgiving!!”
Get inspired my friends. Enjoy this new season rolling in because all too soon it will change. Break out your crockpot and make life easy on yourself. Let supper cook itself so you can sit outside and watch the leaves fall and the kids run. Or just sit there and enjoy this day for the beauty it is. Enjoy the moment because truly it is all we have promised. ~AMB

IMG_9125-0.JPG
a little glimpse of Fall in our hood

Crockpot Chicken and Gravy

Stuff you need~

1 pound chicken breasts
2 packages (0.87 ounce) dry gravy mix
1 (10.75 ounce) cream of chicken soup
2 cups water
1/2 cup sour cream (optional but definitely recommended)
Kosher salt, black pepper and garlic powder

What to do with the stuff~

Season chicken busoms with salt, pepper, and garlic powder.
In your crockpot, whisk together the dry gravy mix, water and cream of chicken soup until fairly smooth. Now lay the chicken busoms in the crockpot. Cook on low about 4 hours (mine cooks fast so it takes less time so do what works for your crockpot). Remove chicken breasts with slotted spoon onto a plate. Shred and then set aside. Whisk in the sour cream. Return shredded chicken to it’s lovely gravy. Now spoon over mashed potatoes, cooked white rice, or cooked noodles. Easy at that. Delicious chicken and gravy and Fall has arrived! Ahhhh!!

Most of all…

IMG_8969.JPG
my friend Liz posted this on Facebook this morning and I figured I would share.

Mrs. Mona’s taco salad and really good slumber parties

So I went to a Catholic school in Alex. (For those who don’t know that Alex is slang for Alexandria aka Elic aka A town.) called St. Francis Cabrini. If I must say, it is likely one of the best elementary schools that ever existed. When I was there it went to 8th grade but now I am pretty sure it is only 6th. Anyway, every class was small. So that made each grade relatively small. So mostly everyone knew everyone, every parent knew the kids and parents. It was just awesome. I cherish every moment at that school. And now, thanks to Facebook, I get to be in touch with my friends from Cabrini still. And thanks to the tight bonds we formed there, we are pretty close for people who rarely see one another, if ever. So naturally we had slumber parties as all little girls do. Mrs. Mona is my friend Staci’s mom. She was always the nicest, most even keeled mama and always kept her cool. She is also an excellent cook. For one of Staci’s slumber parties…5th grade I think? Mrs. Mona made this taco salad. I fell in love. I can still remember thinking what a delicious treat that taco salad was. She introduced me to taco salad, monkey bread, and 7 layer dip. I have told y’all my daddy is a rice and gravy man, my mama aims to please and that’s what she made. Now a days, she makes a much wider variety of stuff and ole Steven (my daddy) is just glad to have something to eat. I imagine he would tear up this taco salad! Mrs. Mona was certainly influential to me as a cook, if I look back at it. She is a great lady and I am so blessed to know her and her precious daughter Staci. We went to school together from 2nd grade until high school. One of those friends. Always and forever somewhere in my existence and I am so grateful. Now, when I was in college , BBM (my mama) gave me an heirloom recipe cookbook that allows you to add recipes and special stories to it. I thought of all the recipes that were my favorites, Momee’s cornbread dressing, Shrimp mold, Nana’s Neiman Marcus bars…and mrs. Mona’s taco salad. So I called her up and she gave it to me. Right then and there. Little did either one of us know that one say I would have a blog and add this recipe to it. I guess it many ways, this blog is a super fabulous version of my heirloom cookbook. This is the actual page from the cookbook..
IMG_7699.JPG
pretty cool…

So now, I will give you the recipe and you can have it. Straight from Mrs. Mona Roy’s kitchen…to mine…and to yours. Now, I just need to get mrs. Mona to agree to host another slumber party. Staci, you think she is up for it? Can we bring the kids? Thank you Mrs. Mona for the awesome hospitality, the delicious food, and the recipes. Oh and giving birth to a lifelong friend of mine. ~AMB

br />
IMG_9098.JPG
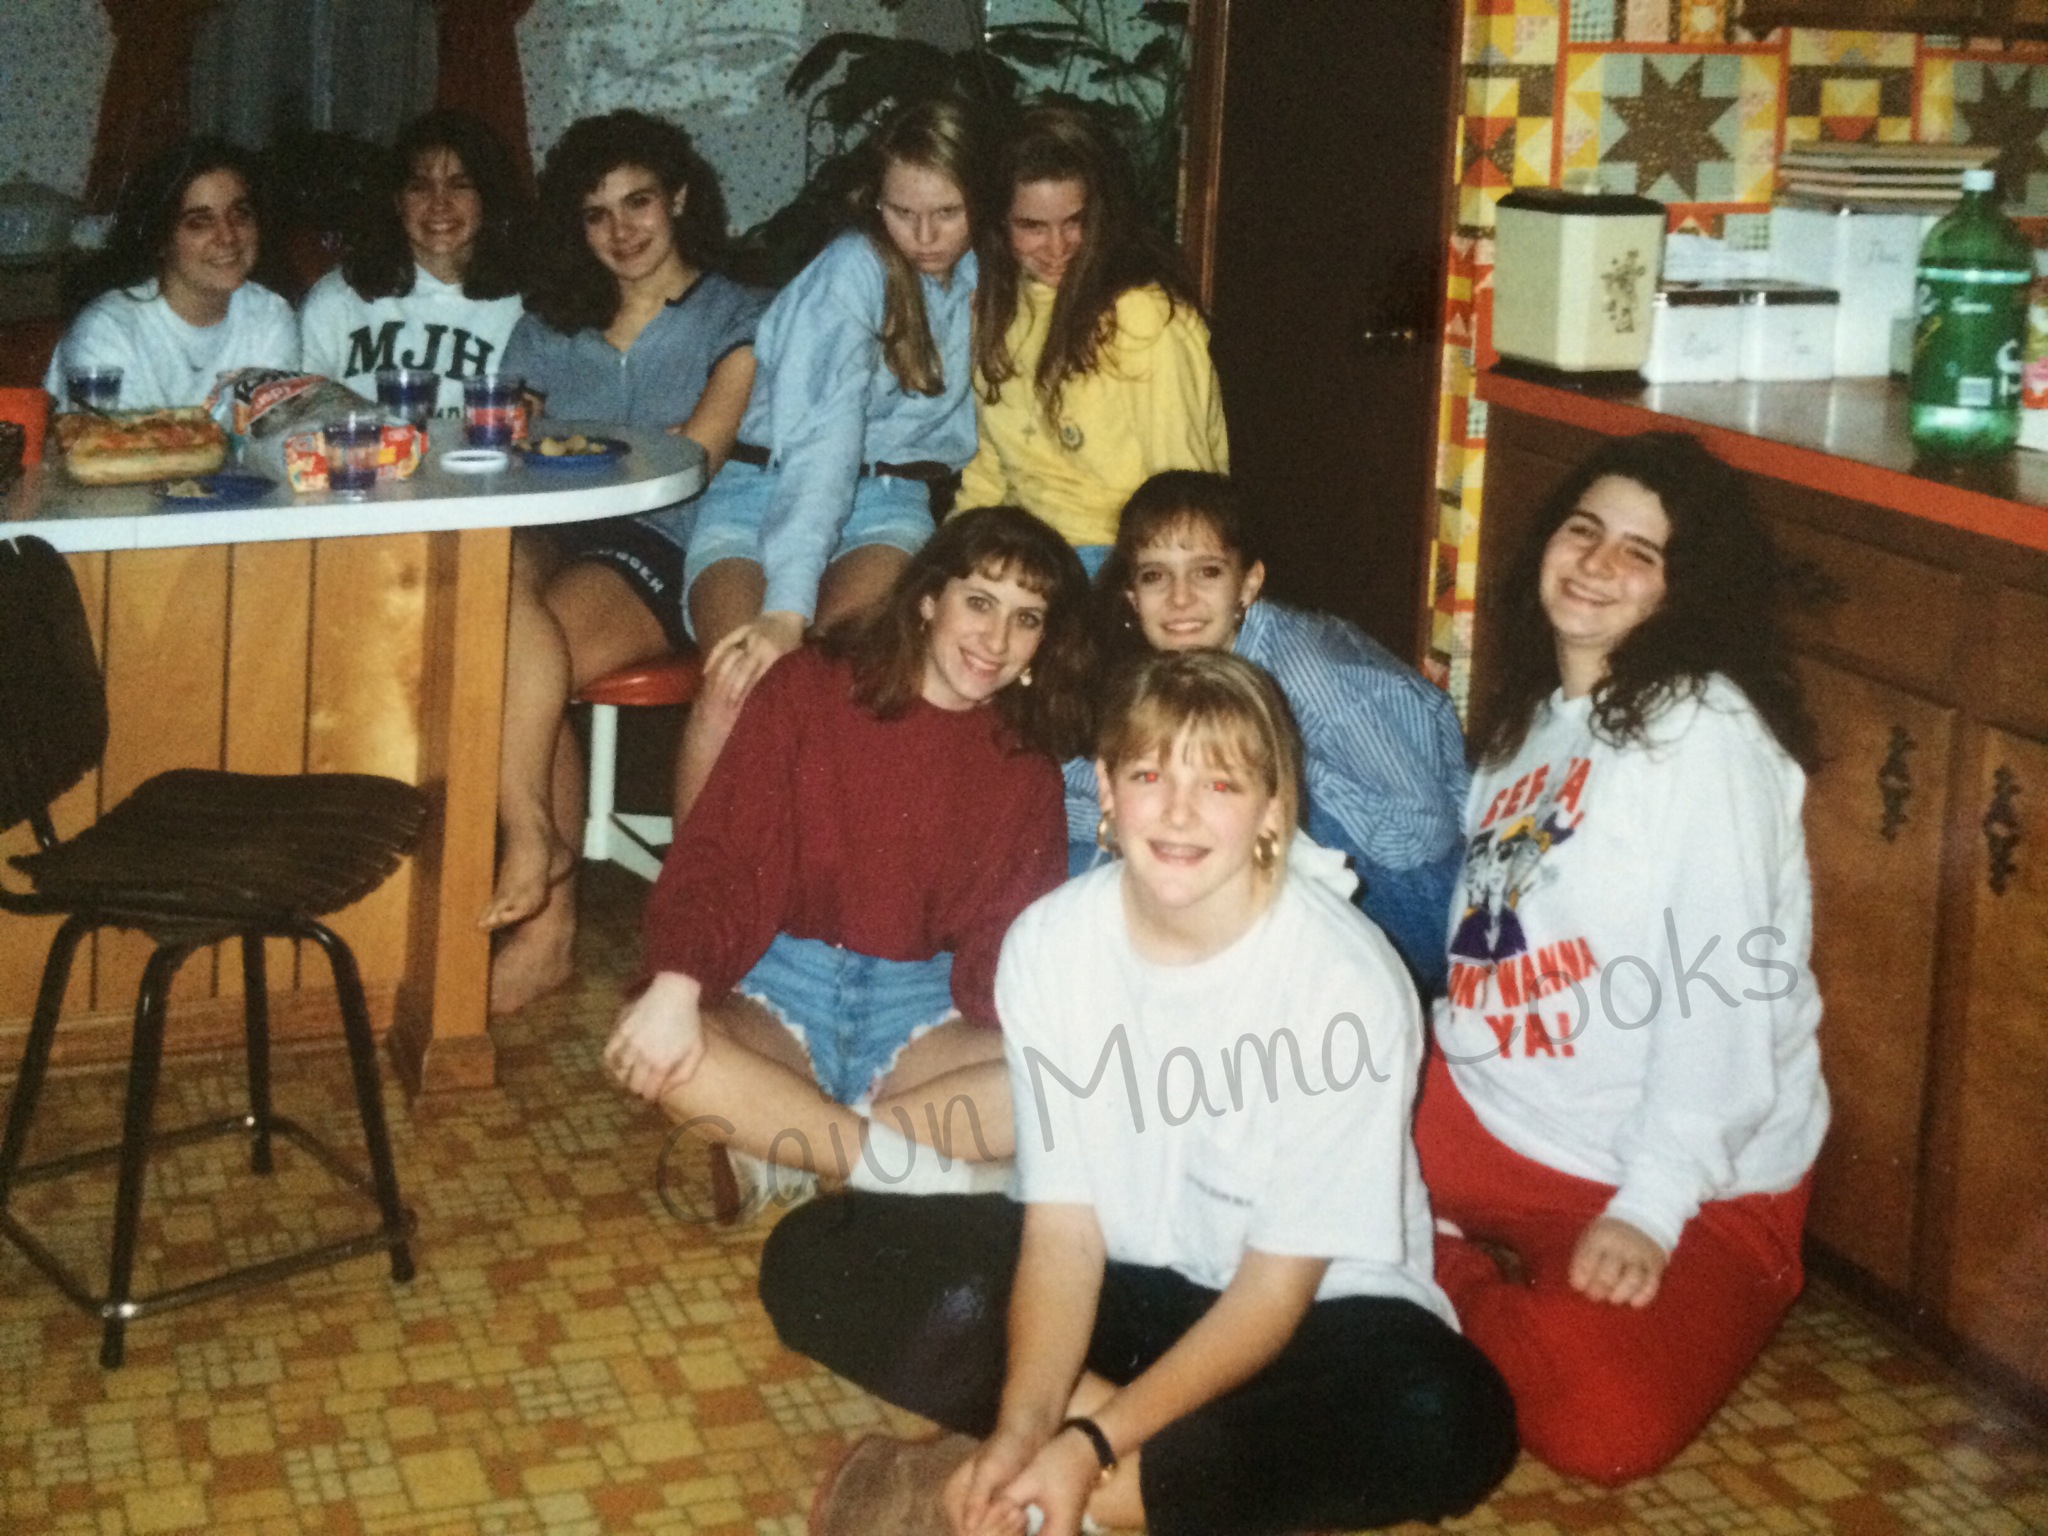
a picture from one slumber party at Staci’s in high school. So much fun. Also so much hair. Love you girls!

Mrs. Mona’s taco salad

serves about 8

stuff you need~

1 pound ground beef (I used lean)
1 (8 ounce) jar taco sauce (I used Taco Bell brand and bought 2 jars so I would have extra)
Salt and pepper to taste
1 head of lettuce, shredded
3 tomatoes, chopped
1/4 pound shredded cheddar (about 1-2 cups)
1 can kidney beans, drained (optional, this is my addition)
2 cups crushed corn chips

What to do with the stuff~

Chop up your lettuce. I just put it on a cutting board and just sliced and chopped. There’s no exact science to it. I would say freestyle works. You want bite sized pieces…not huge chunks.

IMG_9093.JPG
Rinse the chopped lettuce well in the colander.
Now slice and dice your tomatoes.
Ok now, in a large skillet, brown ground meat. Drain. Stir in taco sauce. Now, give it a taste and then add some salt and pepper. I also added some MexiCajun seasoning (a friend of mine from Alex. Actually created it and it is amazing!

IMG_9099.JPG
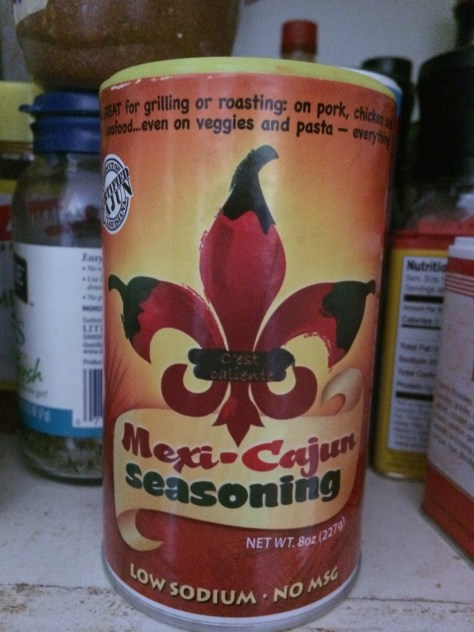
love some MexiCajun seasoning!
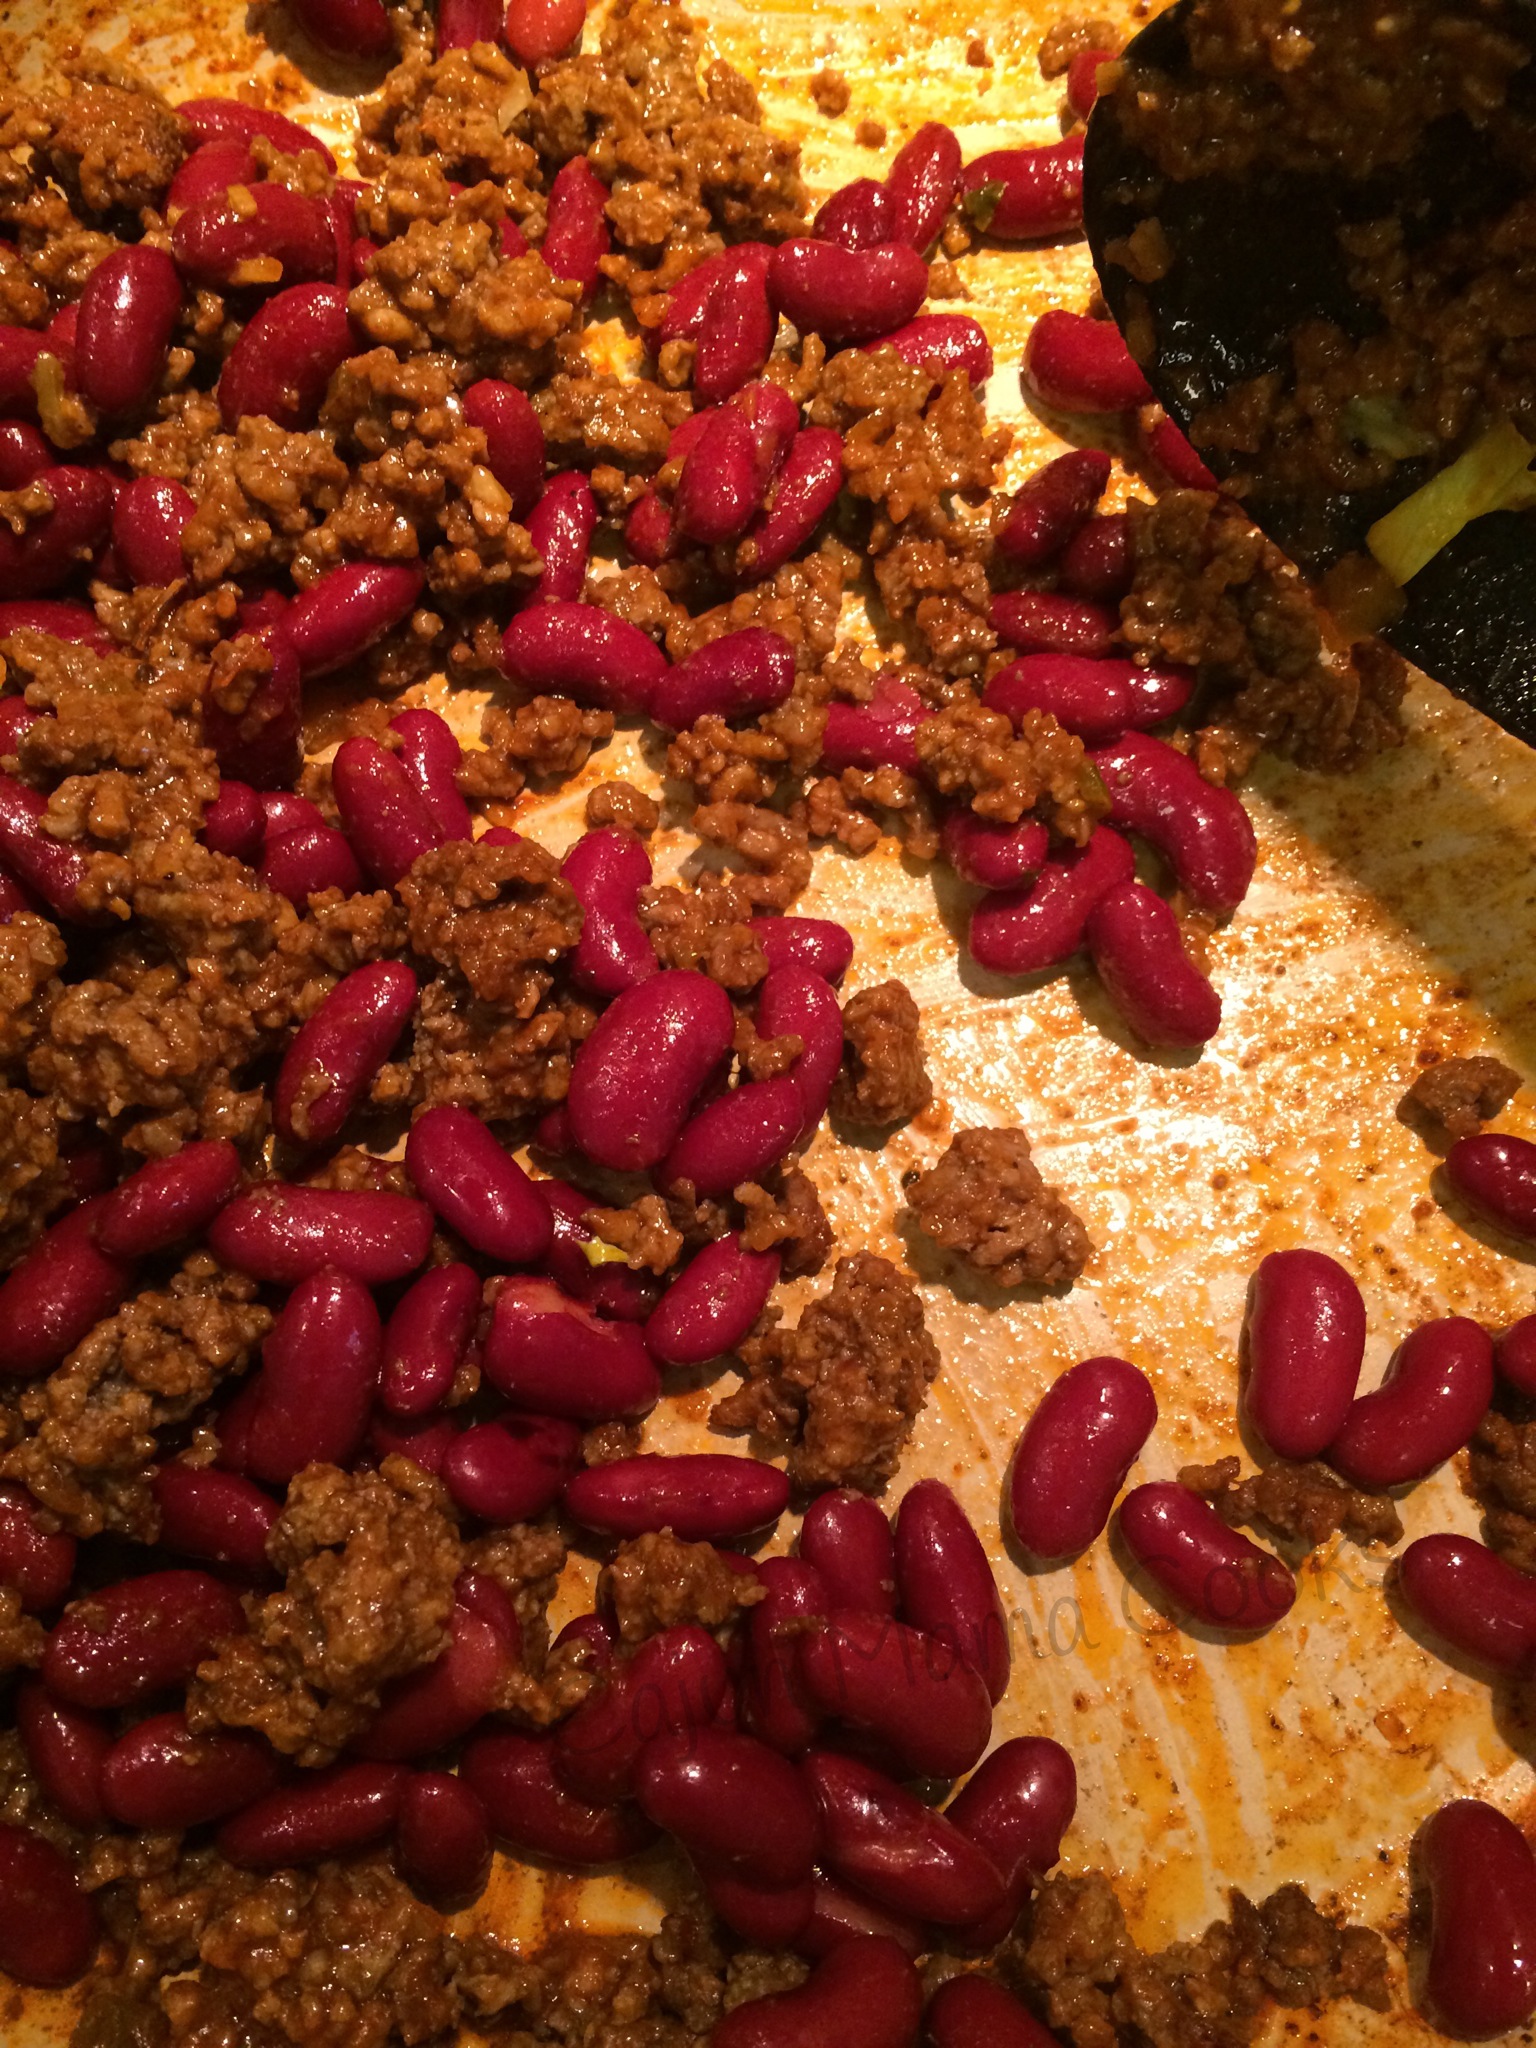
Here is a link to purchase if you are interested. It is really delish! http://mexicajun.myshopify.com/) as well as a little cumin. Just add and then taste. You might want more kick! Ok, next I drained my beans well in a colander. Then added to the beef mixture. Like so…

IMG_9095.JPG
Ok, now at this point, your lettuce should be rinsed and drained. So pile that lettuce in a big ole serving bowl. Throw your beef and bean mixture on top of that. You are amazing. You are doing great! Ok, now add the tomatoes on top. Sprinkle all that shredded cheddar on top of it all. Yes. Like that. Now crushed corn chips have arrived at the party. It is their time. I just crush and sprinkle. Crush and sprinkle. Add more or add less. Mrs. Mona won’t mind. She is cool that way.
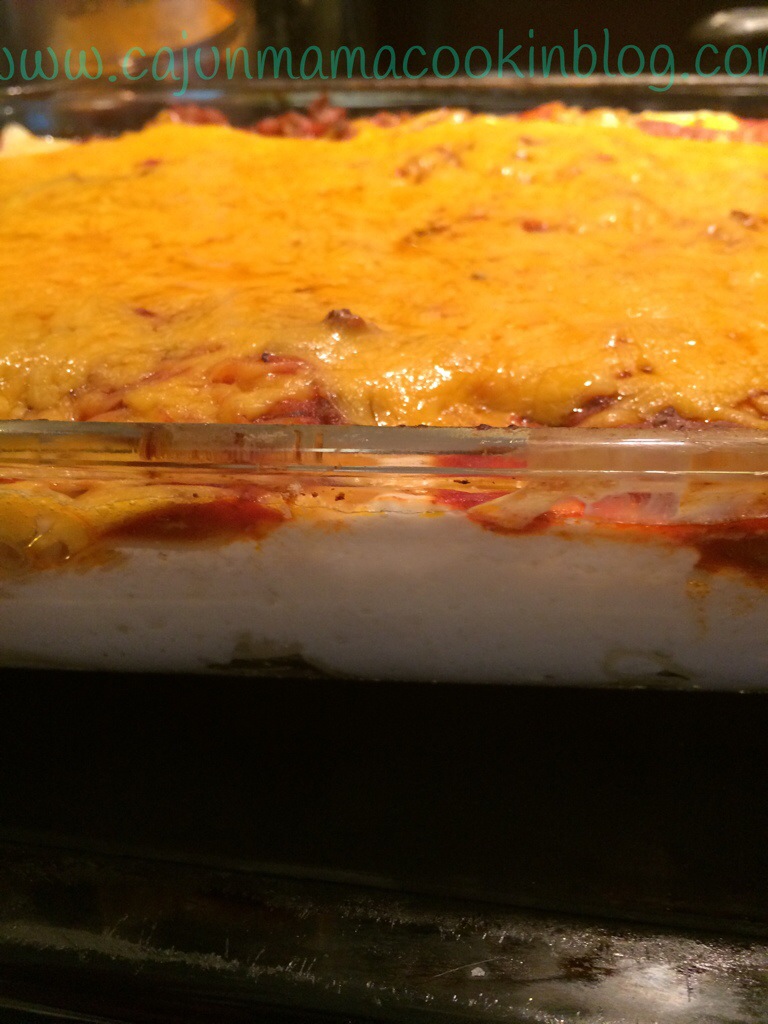
Then it will look like this…

IMG_9096-0.JPG

Now, I poured some more taco sauce all over the whole thang to just kick it up a notch. It’s all good. Toss it well and then serve. Next time I will add some black olives to mine. Madame Toot insisted on a dollop of sour cream. She was not wrong. It was yum!!!
*Mrs. Mona said serve immediately. She was right. It serves a crowd so make it for a crowd. Leftovers do not do well with this dish. If you have a big slumber party of gals or guys, pretty sure you won’t have to worry about that. Enjoy!! Hugs and kisses to Mrs. Mona and Staci from Shreveport!

Golden Oreo dirt cake

At some point in my childhood Momou discovered dirt cake. Such a novel idea at the time and she was the queen of the dirt cake. It’s funny because now dirt cake is far from a novel or creative idea. Since the invention of Pinterest, it’s hard these days to really come up with inventive ideas since it seems as if everything has been done. But back in 1990, when Momou discovered dirt cake, it was the bomb. I can recall either her or one of my aunts making it for a family gathering and serving the dirt cake in a clean flower pot with gummy worms sticking out of the top. Talk about impressive. I bet money that Momou would be a Pinterest queen if she was shown how to use it. And I bet if given the chance, she would whip up a mean dirt cake for her fellow nursing home residents. Sister can work it!! So this dirt cake is just a slight variation on the typical dirt cake. It uses golden Oreos instead of regular ones. With the recent introduction of caramel apple Oreos and pumpkin spice Oreos (which I still can’t find)…you could make this a Halloween dirt cake and really take it over the top. I am thinking food coloring, tiny tomb stones and little skeleton heads all over the top. The possibilities are endless!! This dirt cake is an excellent birthday cake alternative for my friends who have kiddos who don’t do regular cake/chocolate (I am still not sure that is at all normal…lol. But I have several friends whose kids do not eat cake or chocolate.) One of my kiddos is a real vanilla lover so I figured she would enjoy it. She did. It is such a smooth dessert with a good crunch from those cookies. It tastes better after it sits for a few hours in the fridge. So if you have never made dirt cake, here is your chance. It is a breeze to whip up and it makes a good bit! You can serve a bunch of party goers when this dessert. Whip up a batch today!!

Golden Oreo dirt cake adapted from http://www.thecardswedrew.com

Stuff you need~

2 (8 ounce) small tubs cool whip
2 (8 ounce) packages cream cheese , softened
2 (5.9 ounce) packages of instant vanilla pudding
4 cups milk
2 packages of golden Oreos

What to do with the stuff~

In a large mixing bowl, or the bowl of your standing mixer, add your softened cream cheese and cool whip. Mix until well combined. Now add the pudding mix and a little of the milk at the time, mixing after each addition (trust me it will slosh all over the place if you add it all at once). Mix until smooth and well blended.
IMG_8977.JPG
Ok now for the fun part! We are gonna crush some Oreos! It’s a mini arm workout and an aggression reliever at the same time. Not that I have any er aggression. No, not me. I have 4 kids between the ages of 6 and 11 but I am as a calm as can be. If you know me well you know I am lying, but if you believe me then let’s just continue that for now. 😜
Add a package of Oreos to a gallon size ziploc. Close tightly. Take a rolling pin or a hammer and get after crushing those Oreos. It’s good fun! Flip the bag over and crush some more. Do the same thing for the second package.
IMG_8978.JPG
Now, I made this in a trifle bowl. If you don’t have one, you can buy one as they are pretty cheap and you will get some good use out of it, or you can use a plain ole big bowl. Whatever you want. Do your thing.
Add half of the first bag of crushed Oreos (or 1/4 of the crushed Oreos) to the bottom of your serving bowl. Now, smooth 1/4 of the pudding mixture over the top of the Oreos. Now, sprinkle the other half of the first package of the crushed Oreos over this. Then another 1/4 of the pudding. Continue 2 more times. Oreos then pudding. You should end with crushed Oreos on the top. It should look like this…

IMG_8983.JPG
ain’t it perty?! Yum!!

Shrimp coconut curry and things I love

I love Thai food. I am not sure how that love came about, but it is a done deal now. Thai food makes me happier than a pig in the mud. It is the yin to my yang, Thai food completes me. I could wax on rhapsodically about Thai food and the happy feelings it brings about in me…but I will just say I ❤️ Thai food and leave it there. But ooh I might need a bumper sticker that says Cajun Mama ❤️ Thai food for my mini van. Or would that be a little too much?
Anyhow, the other morning, I was on Pinterest, pinning some recipes and I decided to look up curries. Why? You might ask. Well I will tell you. I am a chronic rereader of books. I love to read and once I fall in love with a book, I tend to reread it over and over. It’s a problem but who am I change it? Some of my favorites include The Help, Cane River, and the Shopaholic Series. The whole series. My sister Claire got me hooked on those when the first one came out and I still love them. I have them on my Nook and I tend to reread at least once a year. And in the first one, in an attempt to save money, Becky tries to learn to make her own take away curry. Being from Alex by the way of Marksville and having a daddy who wanted his rice and gravy, there was not much curry on the menu. And frankly, I bet I would not have eaten it back then. My kids were not overly thrilled last night and they dined on the house cereal and milk in protest. Anyway, after reading Confessions of a Shopaholic for the umpteenth time and reading about Becky’s curry cooking debacle, I decided I had to give curry a go. I was curious! I needed to try this. I mean curry is all up in Thai and I love Thai …I need to try this. Enter in Pinterest. Now, of course I come across several curry recipes but I finally see one for coconut shrimp curry and whose blog is it on? Another one of my faves! Pioneer Woman! Her recipes are always a pretty safe bet and knowing I had her leading the way, I decided to make a go of it. My friends, this recipe is really easy to prep and not intimidating at all. You can totally do this and you should. It cries to be made. BD LOVED it and I did too. Your kids might not care much for it, but that is because it is called curry and it has a curry smell. If they had tried it, they would likely have loved it. Well, not my Sugar Cookie aka Kayla Ann…she is allergic to fish and we are pretty sure shrimp or shellfish (long story) and since we want to keep her alive, we keep her away from all seafood as a rule. Anyway, this curry recipe is super simple and the end result is some kind of yum. Try it…unless you are allergic to shrimp or shellfish…don’t do that. 😁

Coconut Shrimp Curry

Stuff you need<

Basmati rice, cooked according to package directions (you can use plain old white rice, but basmati rice is incredibly fragrant and just adds to the lusciousness of this dish)
1 pound medium size shrimp
1 tablespoon butter
1 medium onion, diced fine
1 clove of garlic, diced fine (or 1 teaspoon of the jarred minced garlic)
1 can coconut milk (I like the taste of Thai brand)
Curry powder(I have the McCormick brand and it was just fine)
Honey
Kosher salt
Fresh basil leaves (trust me)
Juice from one medium sized lime
Sriracha sauce (just the sight of that bottle makes me happy. I have issues.)

What to do with the stuff~

Get your rice cooking in a rice cooker or a pot on the stove. I made 1 1/2 cups and that was about right. In a large skillet, melt your butter. Toss in your shrimp and cook until they are opaque or as I call it…lovely cooked shrimp color. There is a fine line between cooked just right shrimp and overcooked shrimp so kind of watch them. For medium size shrimp, a few minutes is really all it takes. Now, remove those pretty opaque cooked just right shrimpies and put them on a plate. Set aside. I have to hide them at this point because big daddy starts sneaking them.
Ok, add a little more butter if you need to and add the onions and garlic to the same pot. Stir and cook until the onions are tender. Now, you are going to sprinkle a nice amount of curry powder over the onions and garlic. Stir to allow that curry to release all it’s goodness and flavor. I would say about 1 tablespoon at this point. Ok now, open that can of coconut milk and pour it over the onions. Yes it smells like heaven. Curry Thai heaven. Yum!!! Stir in a little more curry powder so that the coconut milk takes on a nice light brown color. Like this…

IMG_8891.JPG

Now, stir in some honey (about 2 tablespoons) for some sweetness. Squeeze in the lime juice. See where we are going here? Oh yes somewhere lovely. Thai town, curry ville, my happy place. Ok, now at this point I added a few squirts of Sriracha sauce. If you have never used this stuff before, use sparingly at first. It is some good stuff though y’all. Used to it could only be found in certain stores, but now it is pretty much in every store on the ethnic foods aisle. Buy some. It’s awesome sauce.
Now, stir in a little kosher salt. And let all this loveliness simmer for a few minutes. Feel free to add more honey, lime juice, Sriracha sauce, and salt to get it to taste just right. Sprinkle in more curry powder if necessary. Clip some of those fresh, fragrant basil leaves and kind of give them a little chop and stir them into that lovely curry sauce. It will taste sweet and savory at the same time, which in my humble opinion, is the beauty of Thai food. Now, stir your shrimp into this luscious concoction. Serve over cooked rice. Garnish with a little extra basil. Just beautiful, ya’ll. Heaven in a bowl my friends. Heaven in a bowl. Thank you PW for your guidance in my first attempt at curry cooking. Y’all can check out her post with the most here–http://thepioneerwoman.com/cooking/2014/07/coconut-curry-shrimp/.
Hope y’all enjoyed our little foray into curry cooking. Next up…Momou’s chicken fricassee and sweet tomato gravy (exotic in it’s own right) , coconut curry soup and also…paella. Stay tuned. Every day is an adventure and I am so glad you are on this journey with me! ~AMB

IMG_8895-0.JPG
that’s the stuff (as my friend Lisa loves to say)

Caroline’s favorite chicken spaghetti

So I have told y’all about my dear friend Angie haven’t I? She has a precious daughter named Caroline who is the same age as my oldest. We love those girls and they are like a part of our insane family. Bless ’em. Anyway, Angie loves to cook just like me and always love a new delicious recipe. Getting them and giving them out. She is from Monroe, so her roots are different than mine and that keeps our recipes very diverse and allows us to cover a broad range of yummy dishes. The other day they came over and she mentioned she was making Caroline’s favorite chicken spaghetti. I asked her how it was different than the regular chicken spaghetti and she said to was a little lighter than what she usually made, meaning no heavy cream of soups. I was on top of that and asked her to shoot me the recipe ASAP. She did and I made it for supper last night. Boy was I glad I did. BD ate two servings and had to stop himself from having another. It was so good. He then proceeded to go outside in this muggy Louisiana weather and weed the flower beds. He says he could have never done that if I had made the other chicken spaghetti (which he loves). So it is country boy approved and around here I can be Cajun Mama all day long, but if it doesn’t please BD, I am not getting far. Yes I just reread that statement and realize I sound like my Momou talking about my grandfather…or Pa as she called him. So be it. Anyway, this recipe really is a lighter take on the regular chicken spaghetti I make and this version is as delicious if not more so. Now, my kiddos were not game for trying it but truthfully I usually make a kid friendly version for them when I make the other kind, so I need to figure out one with this one. They ate cereal and were just fine. No kiddos starving here I promise. 🙂
I hope y’all love this version just as much. The recipe came from the Tallulah Junior League cookbook called Brushy Bayou Recipes. It’s called Chicken Casserole V. Now y’all know those junior league cookbooks always have the best recipes. This one was published back in 1972, so the recipe needed a little updating so Angie and I both made a few slight changes to the recipe to bring it up to date. Give me your thoughts on it after you try it!!

IMG_8505.JPG
now you know that’s a good cookbook

Caroline’s Favorite Chicken Spaghetti

Stuff you need~

1 box vermicelli (you can use spaghetti)
1 tablespoon olive oil
1 tablespoon butter
1/2 onion, chopped
1 red bell pepper, chopped
2 stalks celery, chopped
1 rotisserie chicken, deboned and shredded or 4 chicken breasts, boiled and shredded (reserve water)
1 carton of chicken broth (I used reduced sodium)
1 jar of sliced mushrooms
2 (14.5 ounces) can of diced tomatoes
2 cups shredded cheddar

What to do with the stuff~

Preheat oven to 350 degrees.
If you are boiling your own chicken, do that and then remove chicken breasts once it is done. Add chicken broth to that water, bring to a boil and cook your pasta. If you used a rotisserie chicken, then debone that sucker and just boil your pasta in the chicken broth. (Add water to the pot as needed to have enough liquid and reserve a little of the liquid after done boiling)
Ok, now in a skillet, add your olive oil and butter and warm over medium heat. Add your chopped veggies and sauté a few minutes until tender. Stir in the drained tomatoes and mushrooms. Cook over medium heat a few minutes. Now, I used a pasta scoop to add a little cooked pasta at a time to the pot. I used almost all of the pasta. Use a ladle to spoon in a little of the reserved broth. I found this helped the pasta to not dry out. Stir in your shredded chicken and then transfer to a 9 x 13 casserole dish. Sprinkle the shredded cheddar over the pasta. Bake at 350 for about 20-30 minutes until cheese is all melted and bubbly and the dish is warmed through.
Resist the urge to shove your face into the casserole dish. That melted cheese is really hot and eating straight out the casserole dish is considered “bad manners”. Use a plate please and enjoy!!!!!

IMG_8503-0.JPG
an oldie but goodie

Cheesy chicken crescent squares aka little pockets of yum

This recipe is so old school I do not even know where it comes from. I have to be honest. I have about 5 church cookbooks that have some version of this delicious concoction. Some are more involved and some are more straight forward and simple. Guess which one I am more partial to? Yep. The straight forward and simple one. These little pockets of yum are so tasty and simple to prepare it almost seems wrong. But it’s not. It’s so so right my friends. In honor of Labor Day, I decided to make a recipe that required almost no labor. So easy my 7 year old could make them. And she almost did them herself. And then she refused to eat them. Yep. That easy!! Sigh.
Now, I have to he honest and say, this is the first meal I have cooked all weekend. I have pretty much been out of commission the entire long weekend with some sort of stomach flu/demon that possessed my body. I thought I was unwittingly chosen to be in a low budget sci-fi film. Nope. Just a yucky bug that knocked me off my behind for a few days. Today is the first day since Saturday I even felt semi human. And still it was a struggle to do much. But I said to myself, what sounds good that I think I can stomach and is not too much work. Yep. These. We went out on the boat so I could at least say we did something over the weekend fun and also my oldest is turning 11 tomorrow and he is ready to PAR-TAY! So here is the recipe and I know y’all will enjoy the heck out of these little pockets to yum aka cheesy chicken crescent squares!

IMG_8745.JPG
so teeny and precious

IMG_8742.JPG
then boom, like a flash, he is 11. Not so teeny, but still precious and always my baby.

IMG_8743.JPG
Toby says he knows nothing about the stomach bug, he is just glad to be on the boat!

IMG_8744.JPG
Toby is all tuckered out from his boating adventure. He is also super spoiled.

Cheesy chicken crescent squares aka little pockets of yum

Stuff you need~

2 cups chicken breast, cooked and chopped (I used the breast from a rotisserie chicken I picked up and it was just about enough)
1 cup shredded cheddar (use any blend you want or have on hand)
1 can cream of chicken
1 (soup can) of milk
1 can of crescent squares (I used the big and buttery kind and there are 8)

what to do with the stuff~

Spray a 9 x 13 baking dish (you could use a smaller one) with cooking spray. Preheat oven to 350 degrees.
Cut up your cooked chicken. Roll out crescent rolls and separate them out. Now, take some chicken and place it in the largest part of the crescent triangle. Then top with some cheese. If I had to give you a guesstimate I would say about 1 tablespoon of each. Maybe a little less. Now, roll that bad boy up and place seam side down in your prepared dish. Do this for each crescent roll/square/triangle of dough what have you. In a medium size bowl, whisk together the can of soup and can of milk. Pour this over the pockets of yum.
Pop the dish into the oven for about 25 minutes. Add a sprinkling of cheese to the top and pop back in oven for a few more minutes or until the cheese is all melty and irresistible looking. Remove from oven and let sit for about 5 minutes. Enjoy them and pass this recipe along y’all. It’s too good to keep to yourself! Or just prepare them for a friend and they will ask you for the recipe.


add chicken and cheese

IMG_8748.JPG
roll em up (this is my sweet Toot doing the rolling

IMG_8746.JPG
whisking the soup and milk together…Toot did this as well

IMG_8749.JPG
looking all lonely with no sauce

IMG_8750.JPG
me pouring the sauce/photo credit goes to Madame Toot

IMG_8751.JPG
pockets of yum

Cajun mama’s breakfast burritos

I have always loved breakfast burritos. Good ones anyhow. There is just something so pleasing about all that goodness rolled up into one yummy warm tortilla. It just so pleasing and yet simple. Straightforward. Not fussy. With all these kiddos running around, I enjoy not fussy things. It makes my life easier. And as I have told y’all before, Big Daddy loves him some breakfast. He demands it, as much as he demands anything, which is not much. His mama, Dianne, always made him breakfast every morning. She had a full time job, but according to him and his brother, she made pancakes or something yummy nearly every morning. Then after she passed, and my father in law remarried, Deb (mother in law extraordinaire) continued this tradition. She used to make breakfast (well still does) for the duck hunters when her daddy ran the duck camp that is now, Bayou LaGrue. She did this from a young age so breakfast is in her blood. So, for the Bowlin gang, breakfast is a must. And I love breakfast burritos and it is a natural progression that I would find a way to make them myself. It started way back in college and I have gotten much better since then. My two youngest, Toot and Pappy (aka Aubrey and Lucas), love them a good breakfast burrito so that makes them pretty popular. They usually take simple ingredients you probably have around the house to make them. I will give you some pointers on how to make them more involved and authentic tasting (according to moi) but you can really make them as basic as you please. So let’s get cooking some breakfast burritos mis amigos! Mis compadres! Vamanos!

Cajun Mama’s breakfast burritos

makes about 6 burritos maybe more depending on how much filling you use

Stuff you need~

A pack of burrito size tortillas (I use the kind that say soft and fluffy on the package. Pretty sure they are Mission Bell brand. And feel free to use the smaller size. I do if that is what I have)

8 eggs, scrambled

1 pound breakfast sausage

4 ounce cream cheese

1/2 cup onion diced

1 small bell pepper, diced (if you have it or are so inclined…it’s not mandatory)

1/2 package frozen Ore Ida potatoes o’brien (or you can use left over baked potatoes as well. Scoop out the filling and add to burritos)

Shredded cheese (I use what I have on hand but Monterey Jack and cheddar or cheddar jack work wonderfully…get crazy and see what you like)

taco seasoning or if you are feeling frisky get some Goya sofrito (found at Mexican Supermercados or I have heard some Walmarts carry it)

What to do with the stuff

Ok…what I do is brown the sausage in a large skillet. After that is almost down, I add in the onions and bell pepper (if I use it) and sauté that for a few minutes until they are almost tender. I also add the potatoes o’brien at this point to give them a little head start in getting defrosted and warmed up. Add a little olive oil or cooking oil to your pan if you feel it needs it. Of course you can add In the chunked up baked potatoes as well here. Season them up with some salt, pepper and a little Tony’s if you want to love on the wild side. In a separate skillet, I scramble my eggs with some milk. Ok next add the eggs to the sausage mixture. Now, cut the cream cheese up into chunks and over medium-low heat let that mix it up with the rest of the gang in the pot. It’s all good. No really. It’s so good. Yummm! But you are not done my friends. Oh no.
Now, at this point sprinkle in a little taco seasoning (not a whole packet…more like a tablespoon) or if you went full throttle and bought the Goya seasoning, add in a half packet or so. More if you like it. None of this is necessary, you can absolutely serve the burritos without it, but we really liked the flavor it added. So do what works for you. Ok now, stir in a cup of shredded cheese. Stir in around. The cream cheese should be fairly creamy now and spreading it’s creamy delight to all the rest of the concoction.
Warm your tortillas up, and add a nice size scoop of the burrito mixture to the middle. Roll up burrito style.
No words right? Yes they are muy bueno.

IMG_8634.JPG
all that goodness getting ready to get rolled up

IMG_8637.JPG
so delicious

Slow cooker hot fudge sundae cake

This dessert is a real winner. It is not only a chocolate lover’s dream…it is made in the slow cooker. Oh yes. You heard me. Slow. Cooker. Cake. When my editor for Red River Mom’s asked me for some slow cooker recipes for our September issue, I of course had several on hand, tried and true and no fail. But then I thought of this little nugget I had found on Pinterest (where all things magical come from…happy sigh) I was skeptical (really? Cake in a crock pot…yeah maybe.) and I decided I would give it a go. The blogger at Country Cook blog (www.thecountrycook.net) made it sound heavenly and she had found it in a Gooseberry Patch cookbook. That alone said so much! I am a Gooseberry Patch lover from way back and I always loved their cookbooks (and sidenote…I actually have a recipe in one of them…little Cajun Mama trivia for the day). The recipe uses pretty basic ingredients and is super simple. PI did not double the recipe the first time around and I really should have. We had a friend and her son over and it was gone in no time flat. Bluebell Homemade Vanilla on the side of this ooey gooey delight pushes it right over the edge into pure dessert nirvana.
I urge you, out of the goodness of my heart, to do what is right and try this dessert very soon. That’s my challenge to y’all. No ice water here, just hot fudge sundae cake ba-beee!!! So glad the als challenge is going well, but over here we prefer hot fudge over our cake to ice water over our heads. It’s the Cajun mama way!~AMB

Slow cooker Hot fudge sundae cake

*this recipe is meant for a smaller slow cooker (3 quart) so double it if using a larger crockpot. Doubling is recommended if you have more than 4 people who will be eating it and you want to avoid an angry mob.

Stuff you need~

1 cup all purpose flour
1/2 cup sugar
6 tablespoons cocoa powder, divided
2 teaspoons baking powder
1/2 teaspoon salt
1/2 cup milk
2 tablespoons cooking oil
1 teaspoon vanilla extract
1/2 cup chopped nuts (optional)
3/4 brown sugar, packed
1 1/2 cup hot water

What to do with the stuff~
**IMPORTANT–be sure to spray your slow cooker with some Baker’s Joy or cooking spray before adding the first ingredient. Trust Cajun Mama on this!

In a large bowl, sift together the flour, sugar, baking powder, salt and 2 tablespoons of the cocoa powder. Or instead of sifting, just use a fork to mix it together really well and mashing the ingredients up against the edge of the bowl until it’s all really fine. Stir in milk, oil and vanilla extract. Stir until combined. Fold in the chopped nuts at this point if you are using them.
Spread this mixture evenly all over the bottom of the sprayed slow cooker. Ok now, for the second layer, in a large bowl, mix together the brown sugar and cocoa powder. Next, stir in the hot water and mix until smooth. Finally, pour this mixture evenly over the first layer. Now DO NOT STIR!!! Do not stir the two layers. This will mess with the perfection that is this dessert. No stir–got it?!! This how the hot fudge sauce and cake layers form. Important scientific stuff.
Put the lid on and cook for about 2-2 1/2 hours on low. Use toothpick test if you are uncertain on the doneness.
Let this sit in the crockpot for 30-40 minutes after the cake is done, so the layers can settle.

IMG_8545.JPG
mash all those dry ingredients together

IMG_8546.JPG
cook and then let it sit. So tempting and hard to do…it’s worth it

IMG_8544-1.JPG
see what I mean? Worth it. A la mode honey. All the way!

Spicy Cajun shrimp pasta

Well I told y’all when we were on vacay that we picked up a few pounds of fresh Gulf shrimp right? Shrimp is such a luxury for us to have on hand. Somehow it is less painful to shell out the money on vacation for several pounds of big beautiful fresh Gulf shrimp than it is to go to the store and fork it over. Not sure if one is actually more cost effective than the other, but it seems so much easier the other way. Now, that being said, the recipe I am sharing today is so flipping amazing that I will go to the Brookshires or Kroger and buy some shrimp so I can make it. It certainly won’t hold me back!! This was the freshest, tastiest seafood pasta recipe I have tried in a long time. It was yummilicous! (That’s a hybrid word I am trying…cross between yummy and delicious…try it out) I found the original recipe at http://damndelicious.net/2014/01/15/spicy-parmesan-shrimp-pasta/, but I made a few changes to it to make it Cajun style. In all seriousness, this was one fantastic pasta dish and I will make it over and over. I think you will LOVE it.~AMB
Find the rest of this recipe on my new site…Spicy Cajun Shrimp Pasta | Cajun Mama Cooks
http://cajunmamacooks.com/2014/08/04/spicy-cajun-shrimp-pasta/

Million dollar spaghetti and at the center of it all

So when I was growing up, spaghetti was an event. Spaghetti and meatballs that is. My mom’s spaghetti and meatballs. Took all day to cook and it was worth the wait. It almost always was a meal on a weekend and we would have leftovers during the week. That meal to this day is very special and still very much an event. I do enjoy cooking up a pot of spaghetti and meatballs from time to time, but my family loves and I mean LOVES spaghetti. And as much as I love them, I do not have time to make a pot of spaghetti and meatballs as often as they would like it. So I often turn to spaghetti and meat sauce. My oldest prefers meatballs (mix of pork and ground chuck mom, STAT) but he will endure meat sauce if he has to.
Of course, as much as I adore tradition, I am always looking for good variations on our favorite meals. I like to shake it up sometimes, keep it fresh, and make some noise (ha! Like I have to do that…these cookoo loos over here make enough noise for 3 households) but you get what I am saying. I like to stay out of the dinner time rut. So when I came across this recipe on Pinterest for million dollar spaghetti a while back http://ashleykaitlin.blogspot.com/2011/01/million-dollar-spaghetti.html?m=1, I knew I had to try it.
Well this week has been, um, interesting to say the least. It started off that way and it continues to be so. For different reasons. Swimming pool calamities, sick kids, sick hubby and it’s only Thursday, so I figured let’s just blow it out and doing something crazy! Let’s make million dollar spaghetti!!! Or it went something like that. I have said it before and I will say it again, when things are stressful on the home front and I have an inkling of that feeling that I just want to bury my head under the covers and cry, I shift into crazy homemaker mode. I know that few things are in my control, but what I cook and how I feel in my home, is all me. So I cook something traditional and comforting or I try something new. I try a cleaning tip and do some laundry. I guess my home is my center and I find comfort there. I guess it’s the Narcille and Beulah Mae coming out in me and every other Cajun mama I come from.

20140626-084803-31683025.jpg
the two sick dudes laid up, everyone else around them (getting infected I can only imagine)…but that’s my chaos and my heart and soul

This million dollar spaghetti was a wonderful alternative to our regular spaghetti and meat sauce. Big Daddy said he could do with less creamy stuff, but the kids LOVED it. Even my BHB (picky man) ate it with gusto. It’s kind of like my lazy girl’s lasagna https://cajunmamacookinblog.com/2013/12/13/lazy-girls-lasagna/, only with angel hair pasta. It really was very easy and delicious. I recommend you give it a go the next time you are feeling stressed to the limit and not quite certain you do this whole being a grown thing another day. It may not change the world, it may not make things 100% better, but it will surely change your outlook. You can look around the table at your family enjoying a meal that you made and think, ” I cannot do it all, but I can make a meal my family enjoys” and “I can bring my family together.” And let’s not forget, that is kind of the point of this whole cooking for these people we live with anyway. Enjoy!!~AMB

Million dollar spaghetti
Stuff you need~

8 ounces angel hair pasta, cooked al dente
2 lb. container Cottage cheese (that’s the taller one)
1/4 cup sour cream
8 ounces cream cheese
1 small jar spaghetti sauce (I am a Ragu girl)
1 pound ground chuck
1 stick of butter (I used about 3/4 of the stick)
2 cups shredded mild cheddar

What to do with the stuff~

Preheat oven to 350 degrees.
Cook your pasta according to package directions. Brown ground beef until no longer pink. Drain well.
Stir spaghetti sauce into the drained ground beef. Heat until warmed throughout.
In a mixing bowl, mix together the softened cream cheese, sour cream, and cottage cheese. (I used my standing mixer to do this, as she suggested)
Put half of the butter (sliced into pats) at the bottom of a 9 x 13 dish. Layer half of the noodles on top of this. Now layer all of the creamy mixture on top of this.
Next, layer the rest of the noodles on top of the creamy mixture. Lay the rest of the butter pats on top of the noodles.
Now spread the spaghetti sauce and meat all over the top.
Cook at 350 for 30 minutes.
Finally, sprinkle the cheddar all over the top of the whole shebang.
Cook for another 10-15 minutes or until the cheese is all bubbly and irresistible looking.

20140626-093455-34495683.jpg
noodles on top of creamy mixture

20140626-093524-34524396.jpg
more butter pats on top of the noodles

20140626-093834-34714857.jpg
my handsome boy helping me cook and telling me all about his latest google research. He amazes me.

20140626-093923-34763987.jpg
layers and layers of yummm